We looked at when to start seeds last time but now let’s look at how to start seeds. This post will cover a lot of topics including typical growing setups, some tips and tricks to get around a lack of light, growing on, thinning transplanting, and hardening off.
Lights
In order for plants to grow, they need to photosynthesize. If you don’t have adequate indoor light, they’ll extend their stems too much trying to find it, fall over and even be more susceptible to diseases like damping off. Lights often are also warm and this warmth helps the little plants grow.
Adequate light can vary from a very bright window sill to LEDs and other fancy set ups. My familiarity is with all spectrum fluorescents so I’ll speak from that perspective. Let’s examine some of the most typical set ups and some tips and tricks to make them work.
No Artificial Light – aka the window sill
If you have no grow lights then you’ll have to be more careful when you start your plants. Start them too soon before they can spend time outside in the natural sunlight and they may grow weakly which in some cases can mean that they never reach their full potential. You can grow plants on a very bright window sill. Apparently more modern double paned windows with an insulating gas layer can limit the UV spectrum available to the plant and stunt growth. However, if your window is working, your window is working. It’s important that if you do use a window sill that you rotate your growing plants so they grow more evenly. One advantage is that when the weather is warm enough, you can open the window a crack and give them some air flow. This will help strengthen the stems.
Tips:
- Give plants less of a head start if you can get away with it so they are less optimally growing for less time
- Consider winter-sowing
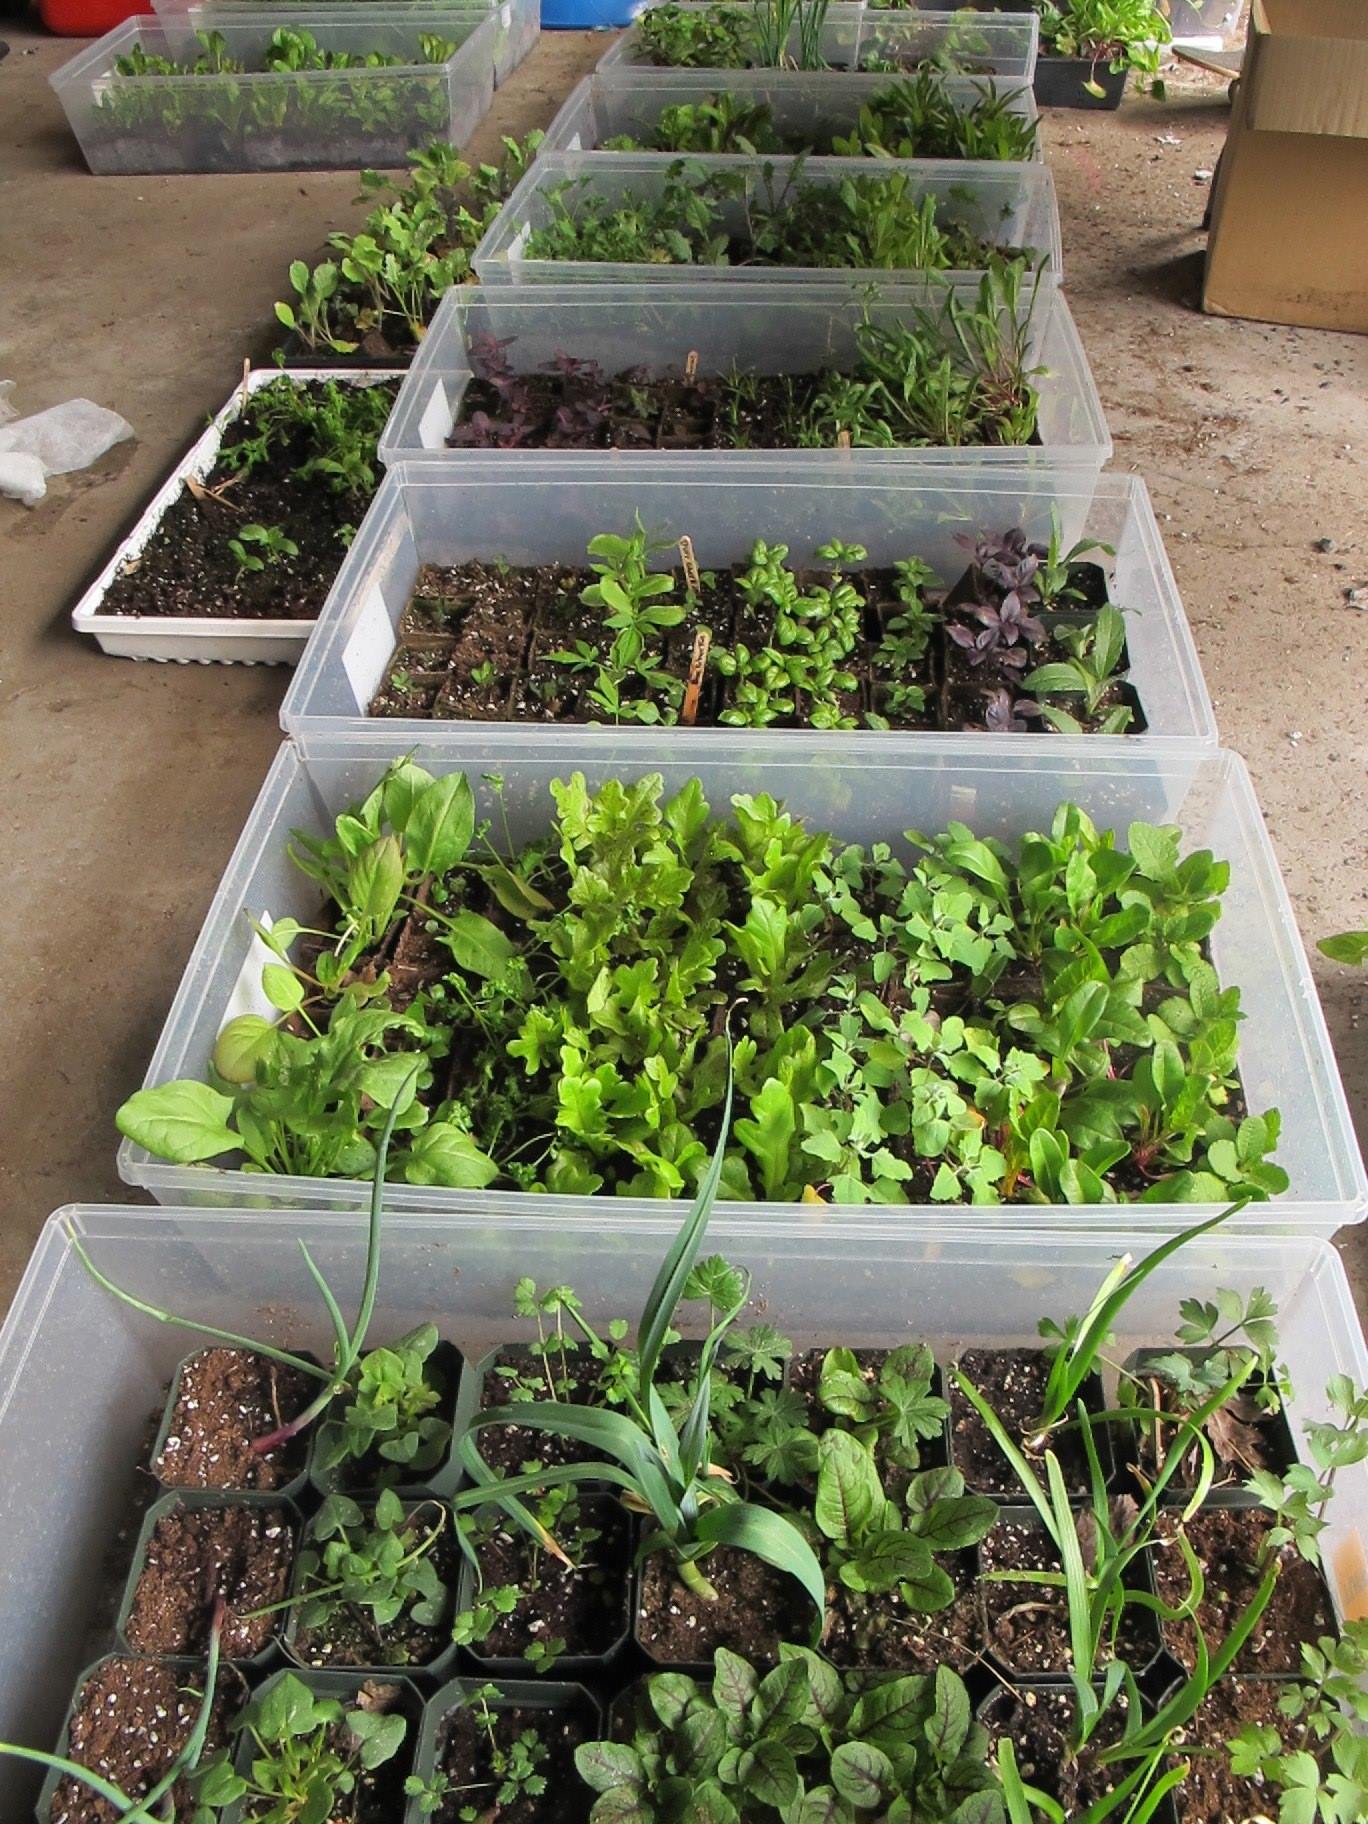
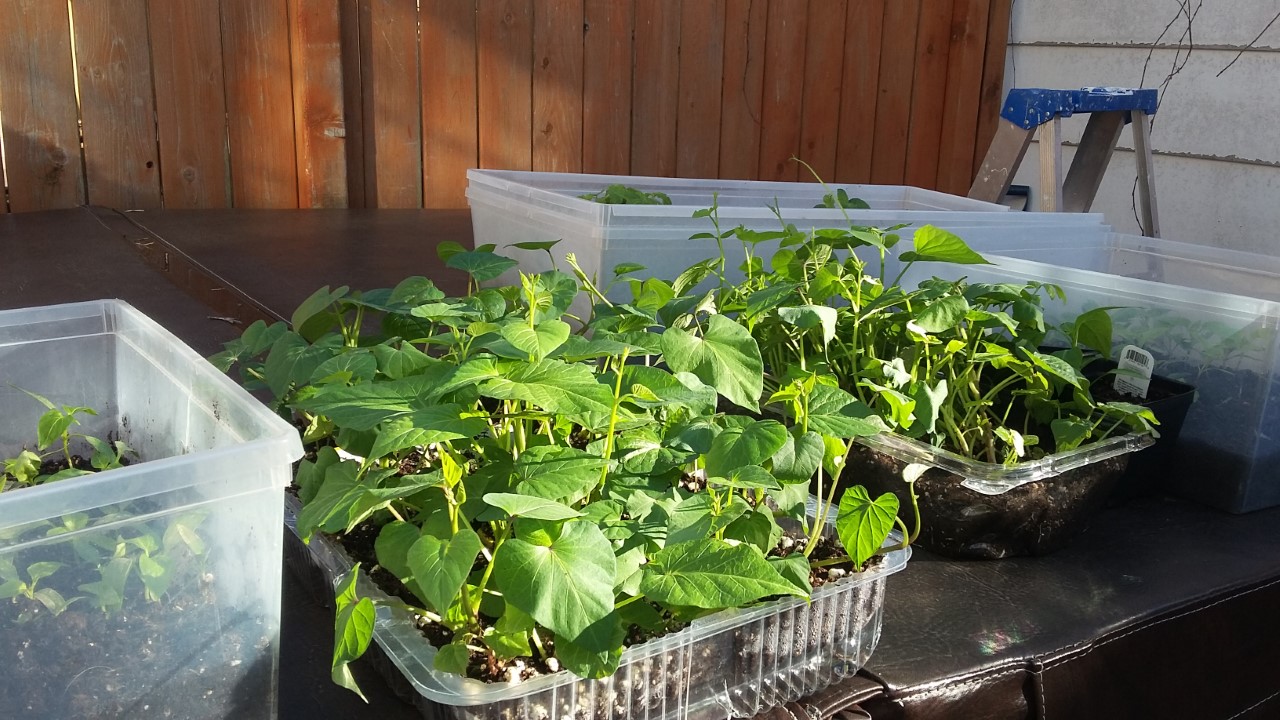
- Use a greenhouse, coldframe or even clear storage boxes (these have to be managed) for growing on later in the season.
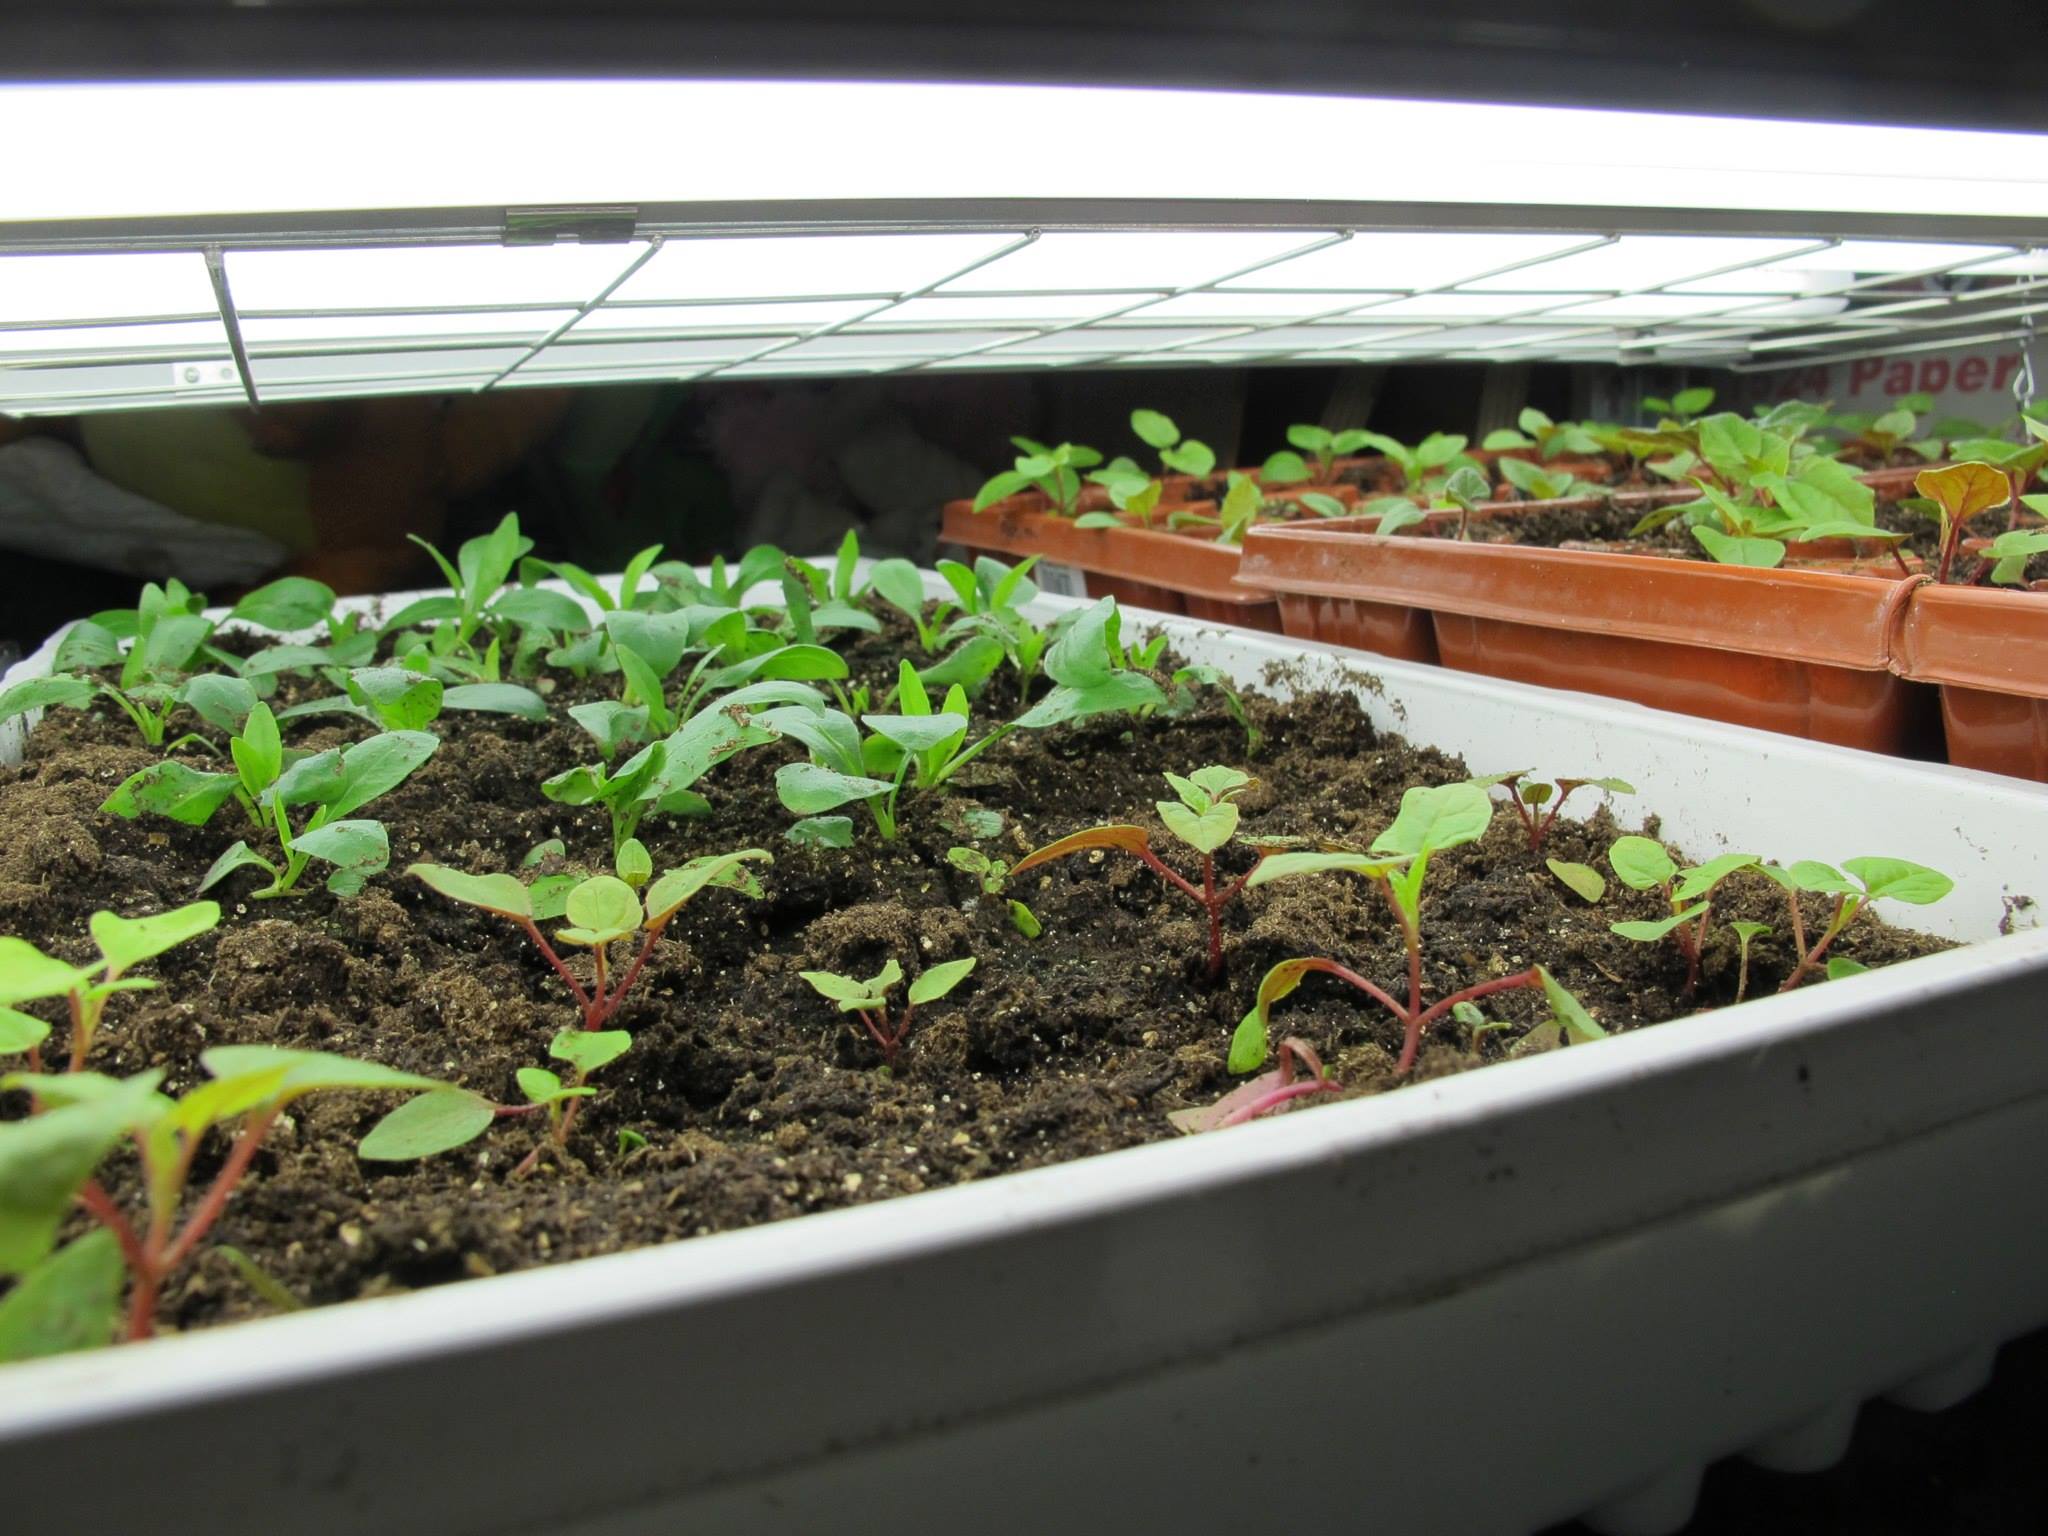
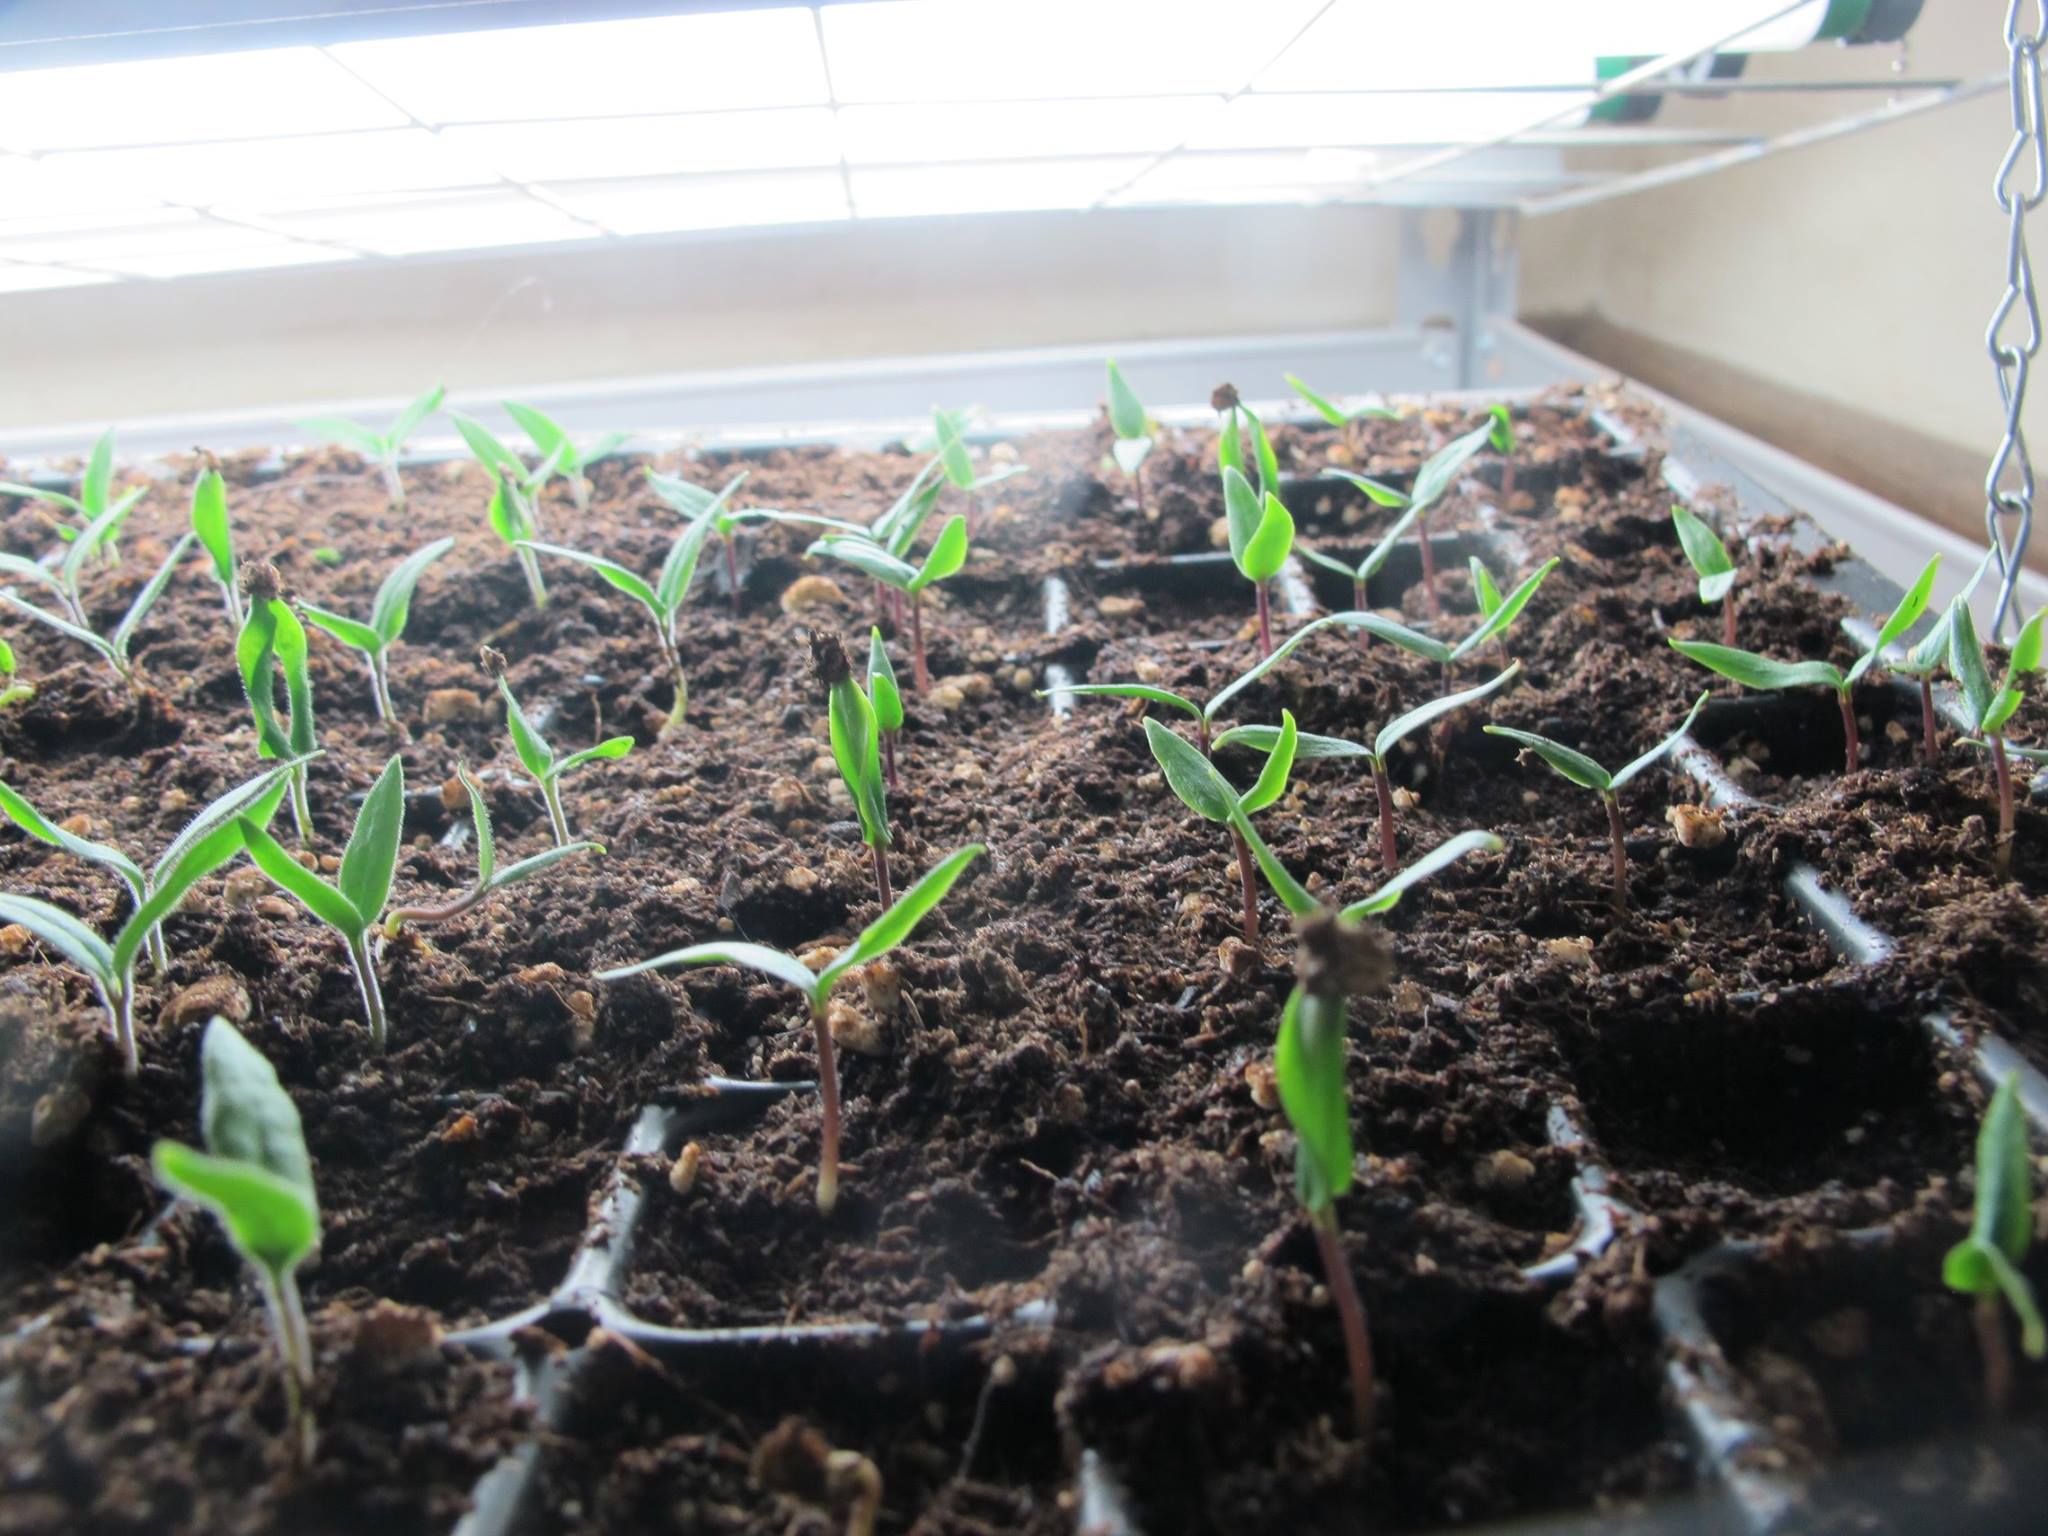
Florescent Tubes or Grow Lights
I’ve used grow lights and full spectrum fluorescent lights with good effect. You want to have the lights close to the seedling trays. Depending on the plant, we are talking about 3 inches from the top of the plant. If you are using a humidity dome over small seeds, then remove it as soon as you see germination and lower the lights a bit. How long the stem is before the cotyledons (baby leaves) open varies from plant to plant and the more you grow, the more familiar you will be, but chunky little seedlings are a good sign. Tomato stems for example are taller than cabbage stems in the first week. You want to see good coloration in the leaves.
Tips
- You’ll read that you should have lights on about 18 hours a day but I have very successfully used two shifts of 12 hours under the lights when I had an excess of trays.
- Try to aim for about 3 inches above the plant. If leaves fold up toward the light as if reaching or if stems seem too long then lower. If plants are bending away or looking odd, try raising them.
- Some seeds require darkness to germinate so place somewhere appropriate until germinated.
- Other seeds require light so these benefit from being under the lights immediately. Just make sure they don’t dry out as these same seeds are often small and surface sown.
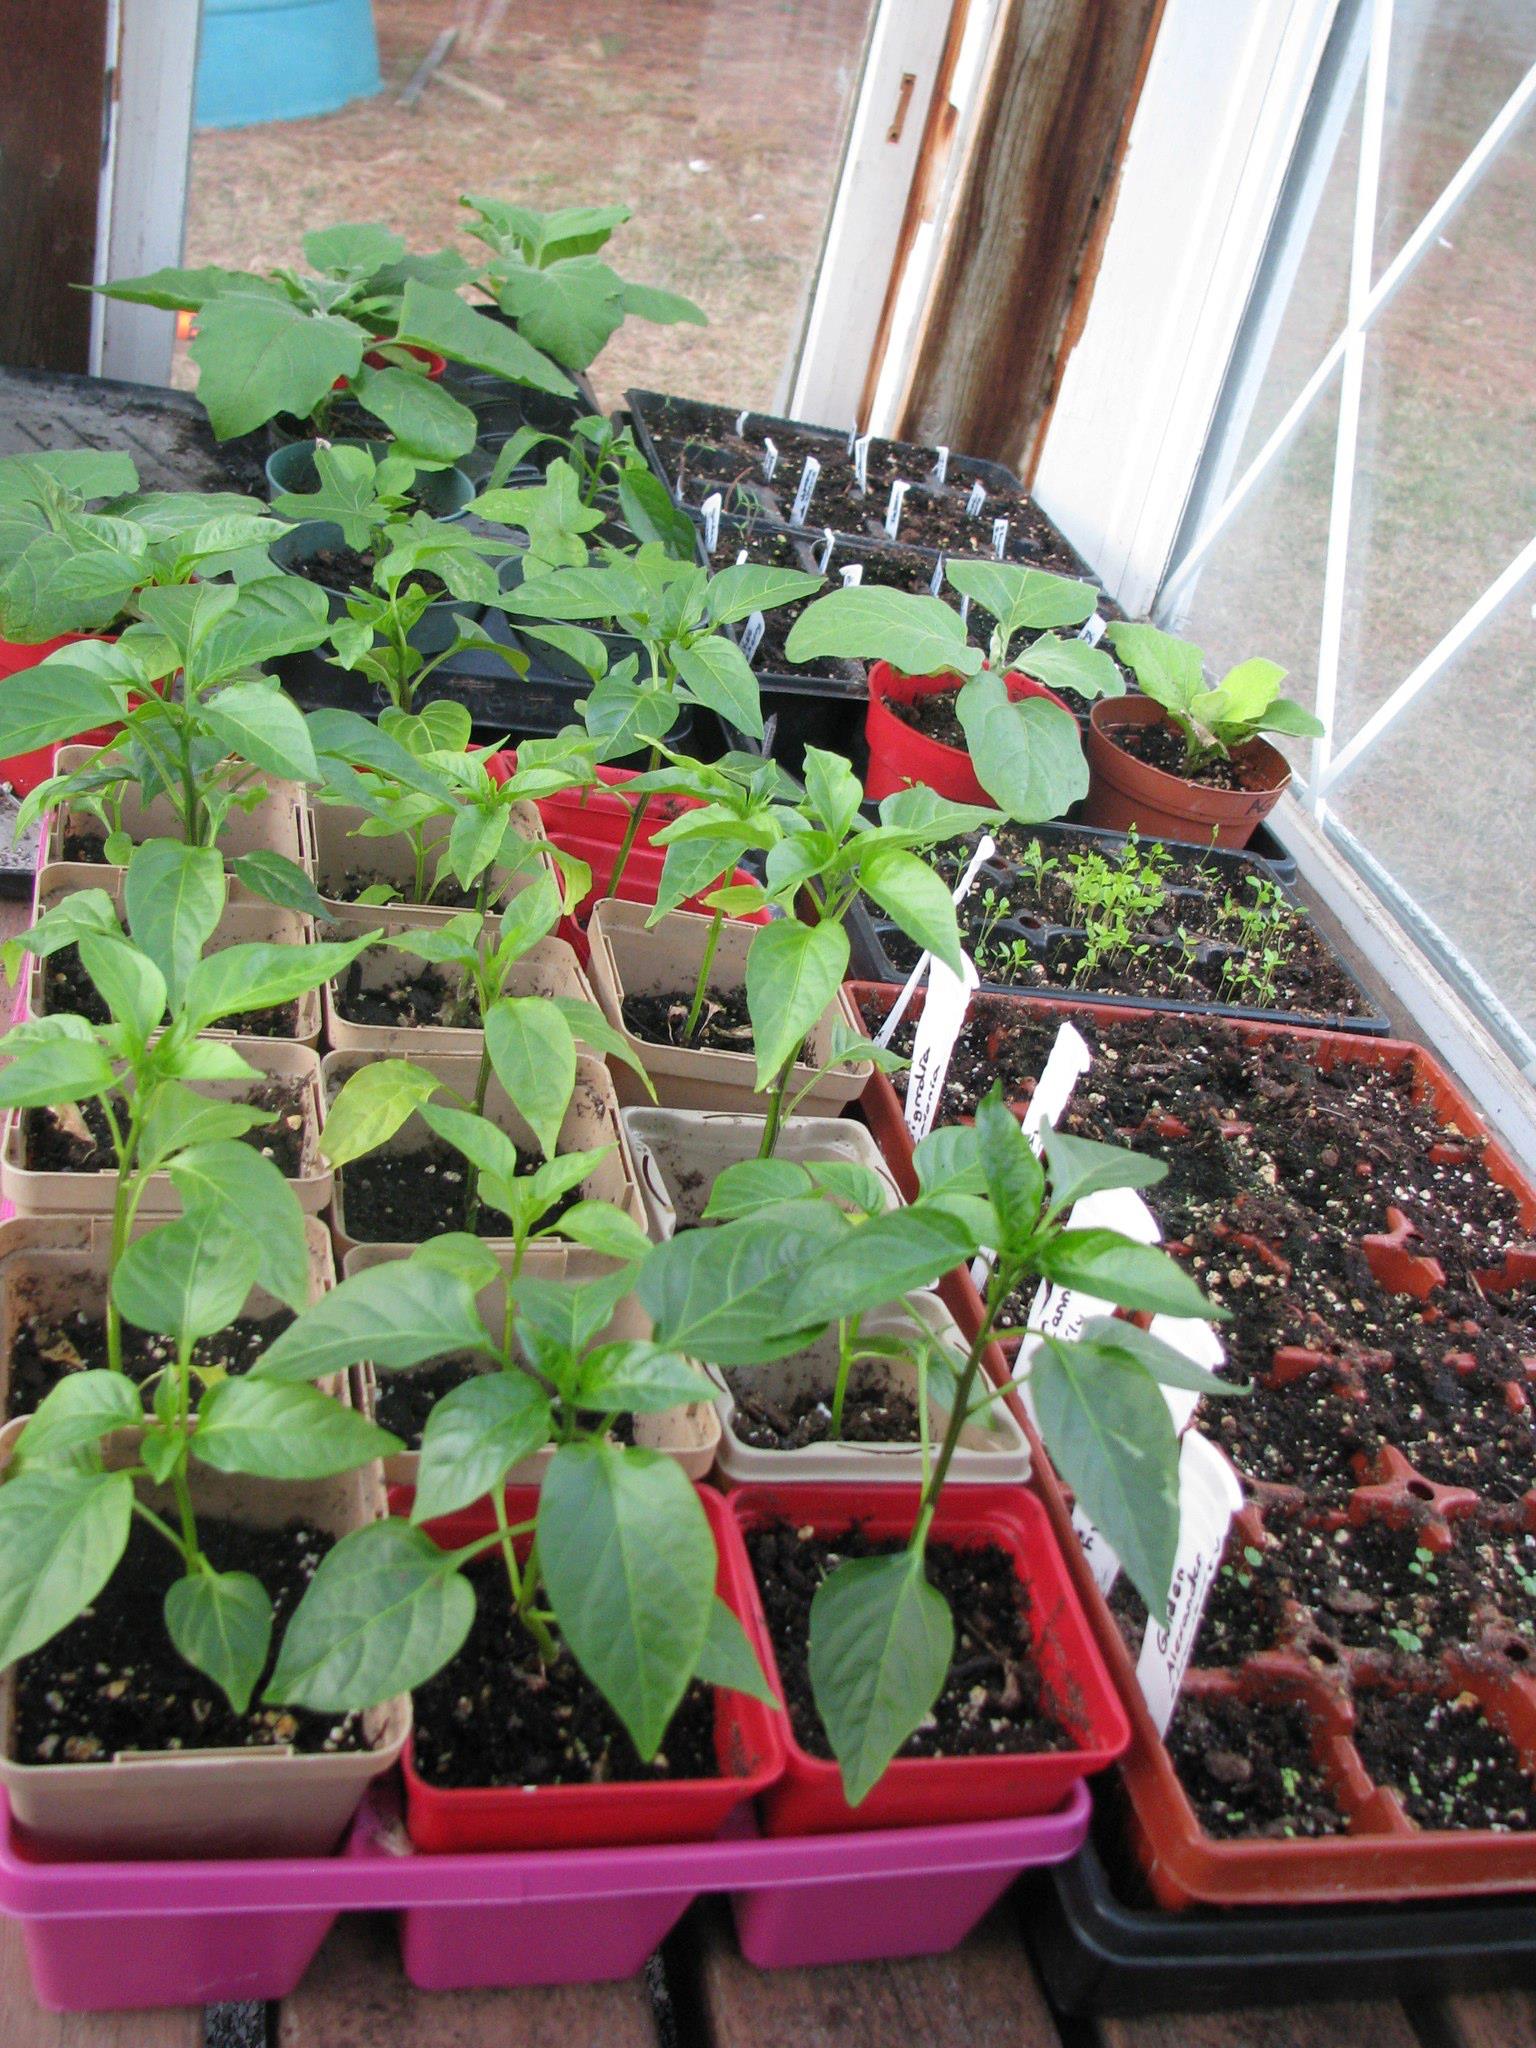
Unheated Greenhouses, lean-tos, and grow boxes of all sizes
I reserve these for growing on larger plants once the weather is more stable and it will not likely frost in the greenhouse OR for later starting of plants that only a short 2-3 week head start OR for succession transplants. It might help to have a way to cover plants – frost blanket or lids to containers – if you want to leave them out even on nights with frost warnings rather than bringing them in. Remember that unheated season extension devices are warmest when it is sunny and may be about the same temperature as the outside air (with less wind) when it is cloudy or its nighttime. You will have to regulate temperature in the greenhouse by opening it in some way if it is very sunny and warm. I find that the smaller the box, the more management is required. Season extension devices have to be opened when it is too hot to prevent cooking your precious plantings! Fancier greenhouses and coldframes can be fitted automatic openers. I never had such fancy equipment but I know it’s out there.
One helpful hybrid is to have half in, half out boxes. These are clear storage containers that can be left out during the day (managing for temperature) then brought in at night.
Growing Mixes and Containers
There are all sorts of containers you can use to grow your plants. The best would be those that were produced for this purpose or that are food grade (and stable for long enough to get to planting) as we are growing edible plants. Make sure that they are deep enough for good root development. As plants grow, you may want to move them from trays into larger containers – pots – though this is not always necessary. You can also make or buy compostable pots like paper pots, get or forgo pots all together by using soil blockers tools.
Use a medium to grow your seeds in that is appropriate for seedlings. There are various ready-made bagged types but you can also mix your own. I’m not going to go into too much depth on this but you can look up ‘recipes’ online or buy bagged organic material from most hardware or agricultural stores. If you do a lot of growing, you may want to get a large bale of seed starting mix.
Tips
- Fungal gnats can be a problem in any mix but especially in those that are reused or kept for multiple years. Though they may not seem like a big issue, the larvae can eat seedling roots. One solution is to water with mosquito dunks which contain Bt that affects this line of flies. Other solutions include drying out between waterings or putting something gritty on top of the soil but I find these ineffective.
- You can amend your growing mix with worm compost or other organic fertility but check first if your mix already has some included as you may not need it right away.
- You can also sterilize your soilless mix and though I have ‘cooked’ reused soilless mix in the oven, it is quite a weird smell. Also, outside of particular disease problems or procedures, I’m leery of sterile growth mediums.
- Make sure you aren’t too stingy on the amount of growing mix you put in your containers. A couple inches at least is good as it allows for sufficient root development.
Germination Requirements
Growing starts with getting the seed to germinate. Most common vegetables germinate so easily that I call them ‘just add water’ plants. It makes it so that when a new grower encounters a plant that is a little more stubborn, they think the seed isn’t any good or that they aren’t very good at growing from seed. The truth is that some plants just are a little more difficult to grow. I’ll be writing more about this in another post about special germination requirements but these are some common things to look for:
- Light versus darkness. Viola germinate best in darkness whereas celery needs light to germinate.
- Depth: The general rule of thumb is that small seeds germinate best on the surface and larger seeds should be poked into the soil. You’ll read this means that they should be planted ‘about’ 2-3 times their ‘height’ but it does vary.
- Heat versus cold (or both): If it is a plant that originated from a temperate area, especially if it is grown as a perennial, it may need cold stratification which is a period of cold. Examples include fruit and nut trees, many wild flowers and herbs. If, on the other hand, it originates in a warmer/more tropical area then it may need heat to germinate well. Peppers are the most common one that comes to mind.
- Soaking/scarification/hard seed coat: There are two major reasons why seeds might need soaking to germinate and that is because they have chemical inhibitors on their seed coat that need to be washed away or because they have very hard seed coats that may need to be broken down. Asparagus has a hard seed coat that benefits from scarification and/or soaking for example.
- Sporadic Germination: For various reasons, seeds might not all ‘hatch’ at once. This would be one strategy in the wild to prevent the loss of a generation of plants, and could come from a natural variation in seed coat thickness etc… Modern varieties have mostly been tamed into having more predictable characteristics so this is something you’ll see more in less often grown vegetables or herbs.
Growing On
The first thing we have to do is get the seeds to germinate. You may do this by exposing them to some sort of germination treatment (like above) or just sow them into your well watered container. Keep the container moist until seeds have germinated. If you are using one of those clear humidity domes, remove immediately when you have little plants as leaving it on could encourage rot. Do not let young seedlings dry out meaning that you usually have to water every day or other day. Containers tend to dry out from the edges so if you have those trays with multiple compartments then give special attention to the outer cells.
The main goal is to have healthy seedlings that are not overly stressed. As soon as a plant is starting to outgrow its growing situation, it needs that situation to change. For example, you can thickly sow a tray of seedlings but then you’ll need to thin or transplant when the leaves start to touch and crowd each other out. If you have the room, you can avoid this work by starting them in the size of the maximum size of container they are going to need before transplanting into the garden.
If you are growing plants for any length of time, you’ll probably have to add some fertility. Most seedling mixes do not have much or any fertility in them. Find an organic fertilizer and follow the instructions. More is not better. Plants will often tell you if you under or over do it by have growth deformities like curling, puckering leaves or by changing funny colours.
Thinning or Transplanting
It is quite common for people to sow multiple seeds into a cell or pot and then thin to the most vigorous. This is usually good advice unless you are growing a mixed pack of various colours or varieties. There are often certain varieties or colours that grow faster so you’ll probably want to keep a mix of seedling habits for the most diversity. You can thin by using scissors and cutting off at ground level or by transplanting.
Transplanting is often described as a delicate procedure and it is but maybe not as delicate as you’d think. If you are a complete beginner this is how you transplant.
- Carefully remove the plant either with a spoon to dig out the plant and a big root ball or by gently squishing the sides of the pot or cell so that you pop out the whole plant. I have never had to pry apart or cut the roots at this point. Really you should be transplanting before you have crowded roots.
- If you have lots of seedlings crowded together, you’ll need to gently tease apart the roots. Best to plant those with the most intact root balls.
- Plant at the same depth in the new container.
- Water in well.
Here’s how you ‘can’ transplant seedlings. Plant thickly in a tray. Remove whole clumps of seedlings. Gently shake apart or otherwise untangle. Place in cells, containers or tray with better spacing. This is often called pricking out seedlings and is used more in the nursery trade but it is a good technique for selection or the space starved. I’ve even ‘rolled’ out whole lines of seedlings when planting them on in very large trays. I wish I could show you a picture of this technique but it is essentially taking that clump of seedlings and then sort of stretching it into more of a line and putting this into a tray with spacing between mini rows.
If the transplanting was a little rough, you might want to let the seedlings rest for a day without lights.
Hardening Off
This is more of a continuous process than is often described. What you are trying to do is to acclimatize your seedlings to the growing conditions they are going to be experiencing early in the season. This is why strong lights and a little air flow can help during the indoor growing phase. Some people put an oscillating fan on their seedlings to imitate wind flow and strengthen stems.
A few weeks before planting out, you’ll want to start giving your seedlings exposure to the outside. If you only have a few seedlings, consider putting them in high sided boxes and in a shady spot for the first few outings. This will protect them from max sun and wind. Gradually build up the amount of sun and air flow that they get day by day until they are ready to get planted. You’ll want to frequently check to see if your seedlings need watering especially in small containers.
And more!
There are a lot of other topics that we could cover including pests and other problems. Hopefully we’ll have time to go over them in another post but in the meantime, please comment on what sort of problems you’d like to address. Happy Growing!