I was pleased to speak with Kate from Heartbeet farm about growing sweet potatoes in the Ottawa Valley (interview below). Many growers now know that you absolutely can grow this heat loving, nutritious tuber here. In fact, in the best years, you’ll get impressive yields that (in my experience) outcompete potatoes, and in the worst years, you still get sweet potatoes so really not a total loss. The trick though is knowing how to grow them. Probably the best tip is that they are NOT POTATOES. The number one cause of failure among growers of all kinds and scales was when they treated Ipomoea balatas like Solanum tuberosum. I write it out the botanical latin to emphasize that they are not even the same Genus as potatoes. Yes, we use potatoes and sweet potatoes in many of the same ways – mashed, fried, chips, stews, breads and more (let’s not forget the sweet recipes), and yes we harvest them from underground, but herein ends the similarity.
Grow Guide
Sweet potatoes can be started either vegetatively or through seed.
Let me stop you there though. The definition of seed is not the tuber… no I mean seed that is made from flowers. Most people will not be doing this but I thought I’d give you a heads up that it is possible for your sweet potato plants to flower, get pollinated and produce seed pods. That these seed pods can contain (even in Ottawa) viable seed that can be started and grow on to produce a sweet potato plants that will bear tubers the first season. And that these tubers will be a never seen before variety that you will be marvelling at for the very first time. Whether or not they will have the qualities you want is a different question.
But, you’ll probably be doing it vegetatively as if you didn’t produce your own true seed, it’s not easy to get ahold of.
Starting from a tuber
So you have yourself a tuber. Here are steps to grow sweet potatoes from that tuber.
- Start with a variety that is short season, and ideally adapted to the Ottawa Valley. You could source this from a local farmer like Kate from Heartbeet Farm or other suppliers, even local community farmers that are selling them for food.
- In March (or even before), you may notice tubers are starting to make sprouts. The sprouts will hold on the plant for months so don’t worry too much.
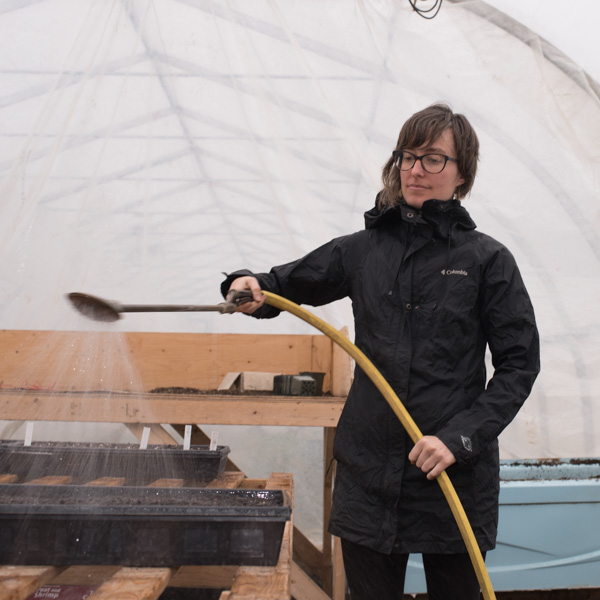
- At around the beginning of April, put tubers in a tray of soilless growing mix – the kind you use for seedlings. I like to half bury mine. Water the mix and keep it moist. Kate uses fruit crates because they are deeper and she finds that keeps her in slips longer. For most gardeners, you probably won’t need that many slips but it’s good to note. I used to use under the bed storage trays which are also deeper.
- The sprouts will start to open up and grow and sproutless tubers will start to sprout (all going well).
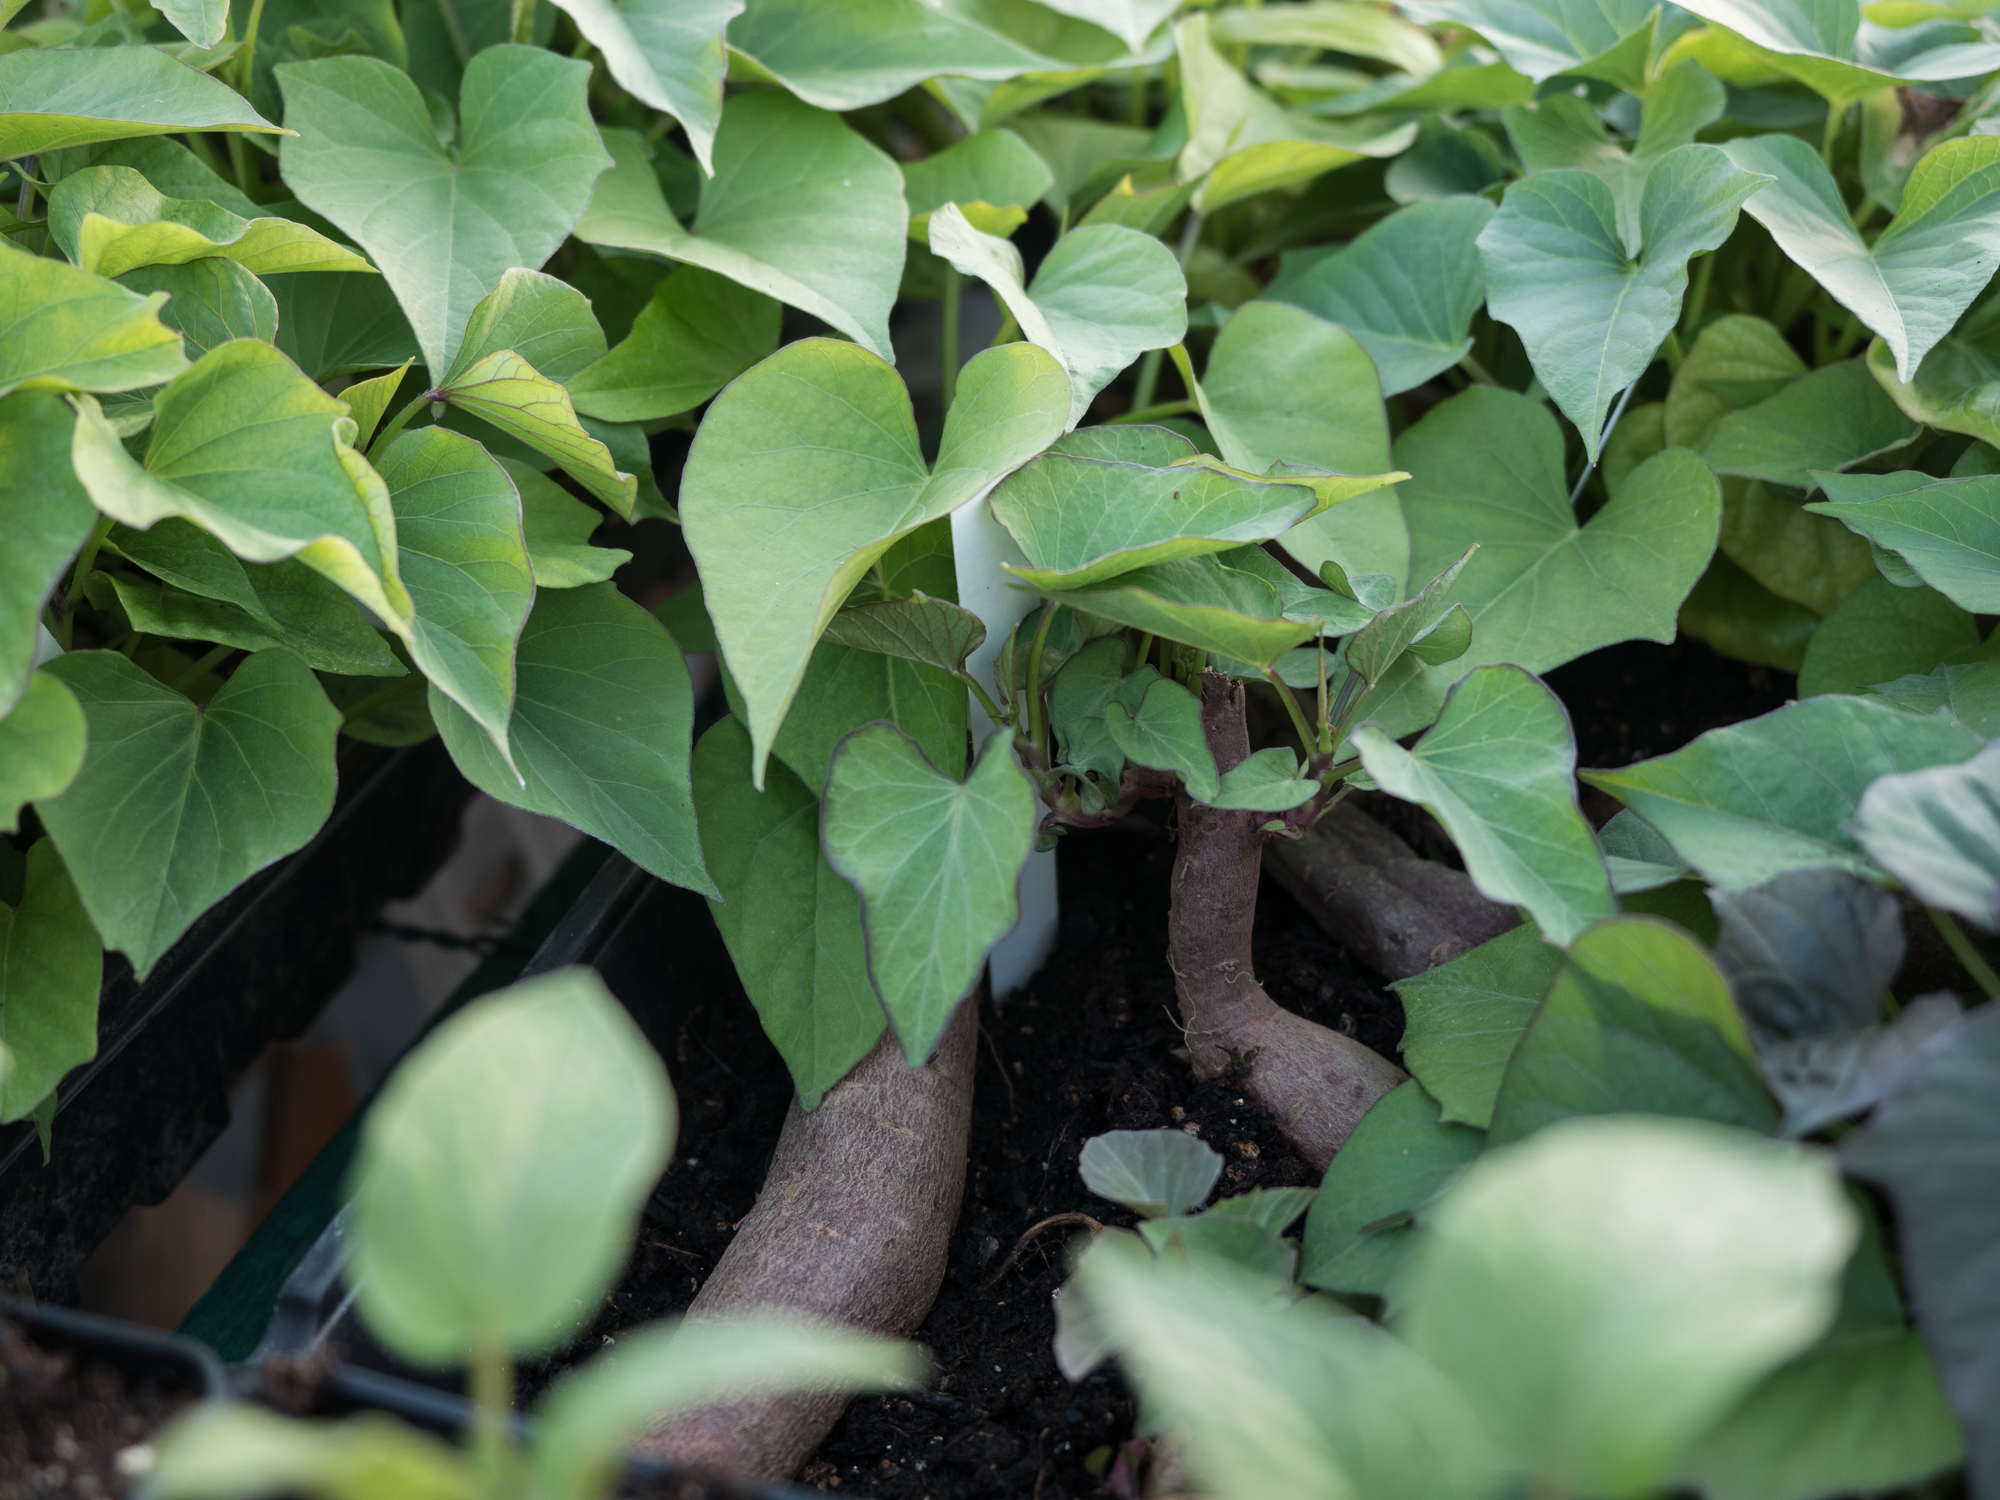
- When these sprouts – known as slips – are about 6 inches tall, you can remove them from the tuber. They may have roots if they are in contact with the soil or they may not.
- Plant these slips into a tray with soilless mix to grow a strong root system.

Where to grow, bed preparation
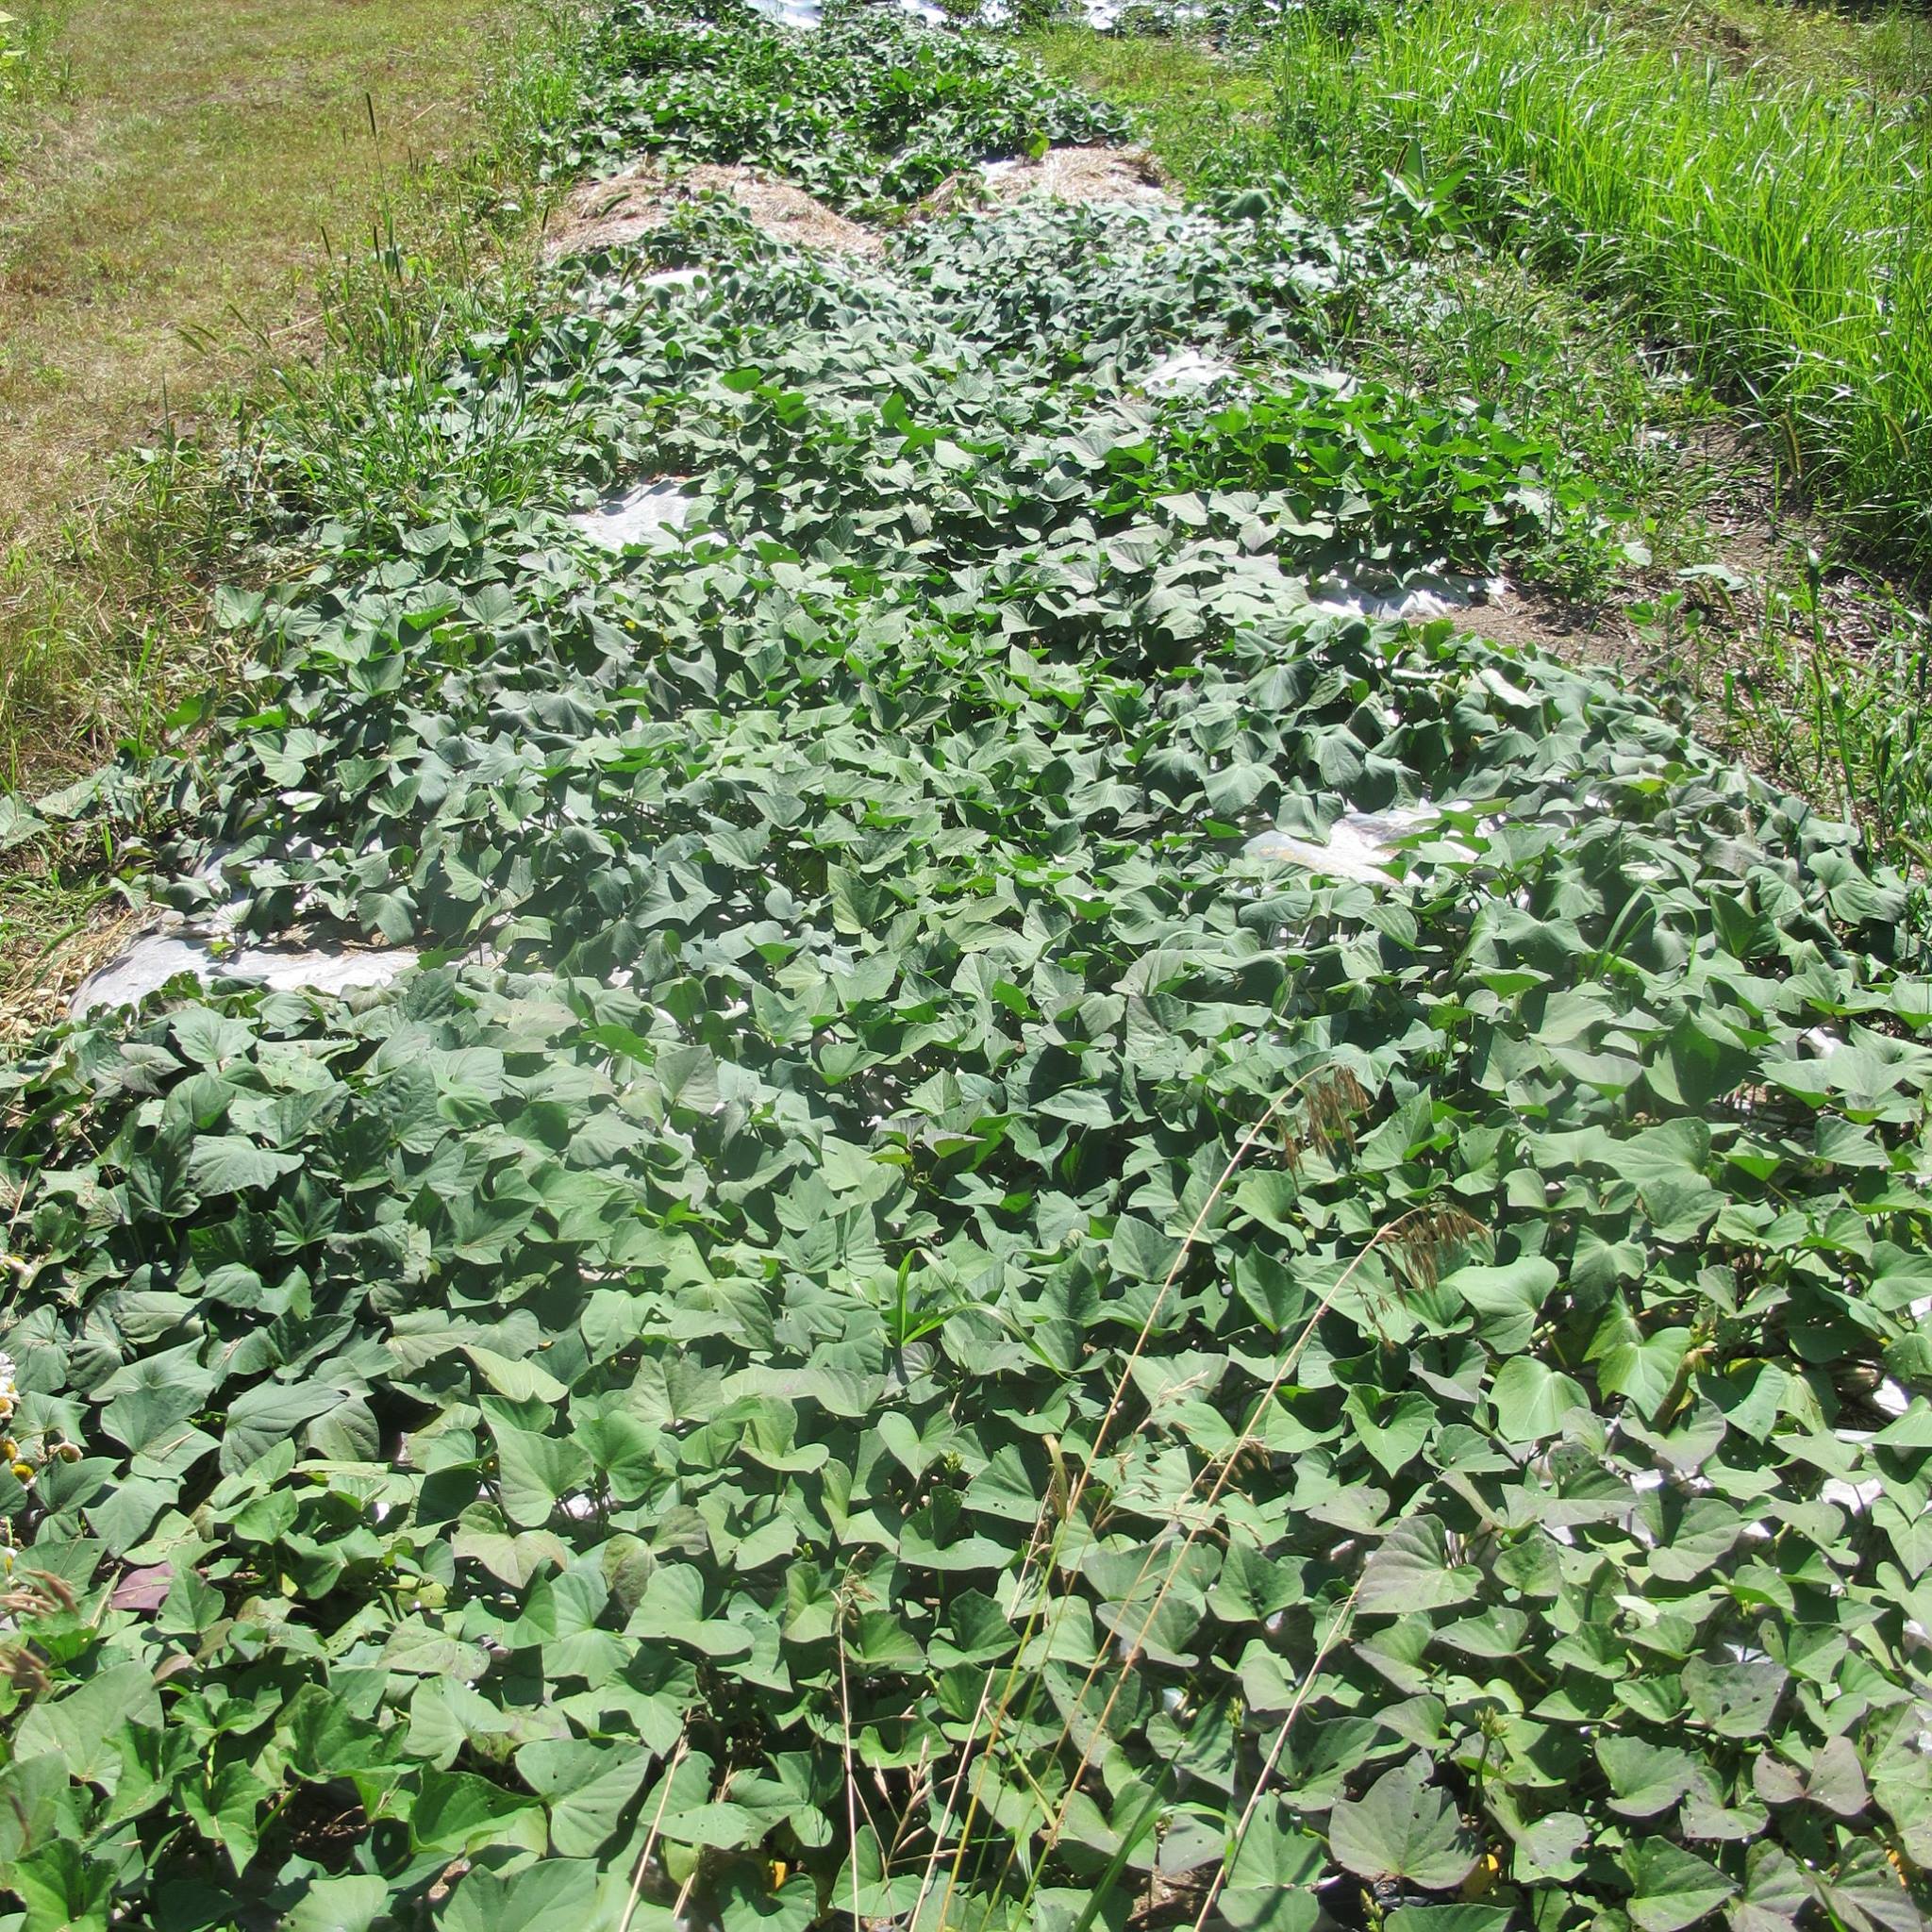
Sweet potatoes like it hot. Sweet potatoes LIKE it HOT. Repeat after me… So, you should find a nice sunny place in your garden or growing area. Each slip is planted about 18 inches apart. If you are planting an area (not in rows) then make sure they are on 18 inch centres. If you are planting in rows then I’ve planted about 18 inches apart in 2-3 foot rows. Really you could plant on 24 inch centres. Ultimately yield is partly determined by whether or not it’s going to be a good year. If it’s a crummy year, you might get more sweet potatoes per foot on 18 inches centres BUT if its a good year (and you can’t easily predict it) you’re going to get better quality and excellent yield on 24 inch centres as the plants won’t be crowding each other. I find that the sweet potatoes at the edge of the bed often do better. I used to plant in a 3 foot row with staggered spacing about 2 feet apart.
Here’s the step by step as I used to do it:
- Amend lightly with compost if wanted or it’s been a while
- Mound a 2-3 foot wide row
- Water well
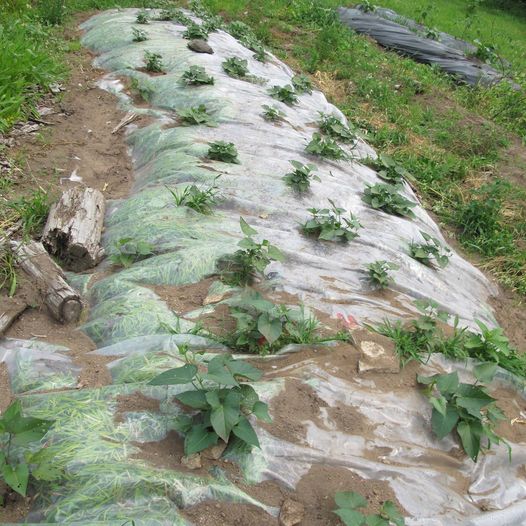
- Cover this row with CLEAR SOLAR STABLE PLASTIC. Vapour barrier works well and can be reused for years.
- Kate recommends preparing the beds a few weeks before planting out so the soil is pre-warmed. Good idea!
- Cut planting Xs or slashes. I used to use a single shovel strike.
- Scoop out the centre of your planting hole, plant in the slip, tuck soil in around it. Seal slash with sand (or nearby soil). If you aren’t doing 100s and are feeling fancy, make sure where you planted is in a little depression so that water is channeled down. A trick is to fit a bottomless pot around the slip (works better with the X shaped opening). This will act to anchor the plastic and be a watering well.
- Keep well watered until established.
When?
A very important question. Don’t plant sweet potatoes out until the soil temperatures are warm. They resent being in ground that is less warm than 15C and will be harmed under 10C. Air temperatures have to be above freezing. They won’t grow well until they are nice and warm. Usually plant out date is beginning of June though I have done end of May especially when I’m trying to get a true seed (remember flowers then seeds) crop.
You will be harvesting before hard frost and probably before a light frost. I say this because sometimes we have a few light frosts that are followed by nice weather so you might row cover (use something to protect the plants against an early frost) and then let them grow on for a few more weeks before harvesting. When temperatures are consistently cool even if not freezing, it’s best to harvest (or if rodents have discovered them…)
- Plant out date (approximate): Early June
- Tubers growing: July-October with most bulking in the latter part. (Some varieties double their size in the last 2 weeks of growing so it’s worth babying them at the end with row cover if initial digging reveals little tubers)
- Harvest: end of September
Growing:
They will survive drought and often crop really well in the hot weather that accompanies it but they don’t love to water deprived so if you can give supplemental water in very dry periods, it’s a good idea. That said, drought years, with no irrigation (as I didn’t have the means) were my best harvest years.
There are a few pests that bother them including the Golden Tortoise Beetle though this doesn’t seem to be a huge problem for me. Vine growth outpaces damage once slips are established. Worse were soil grubs that can disfigure or completely eat tubers.
Kate suggests lifting the vines during the growing season so that they don’t root where they touch the soil. The theory is that if any side tubers form, this may sap energy from the main tuber clump. I never moved vines unless they were in the way but it would be an interesting experiment to run.
Harvesting and Curing
You want to harvest if temperatures get consistently cold and soil temperatures start to drop even if we haven’t had frost so if it’s just 7C and cloudy for a week, at the end of the season, with no warm weather on the way, then it’s probably time. You’ll also want to harvest if the vines have been killed by a light frost. And you have to harvest if a hard frost threatens.
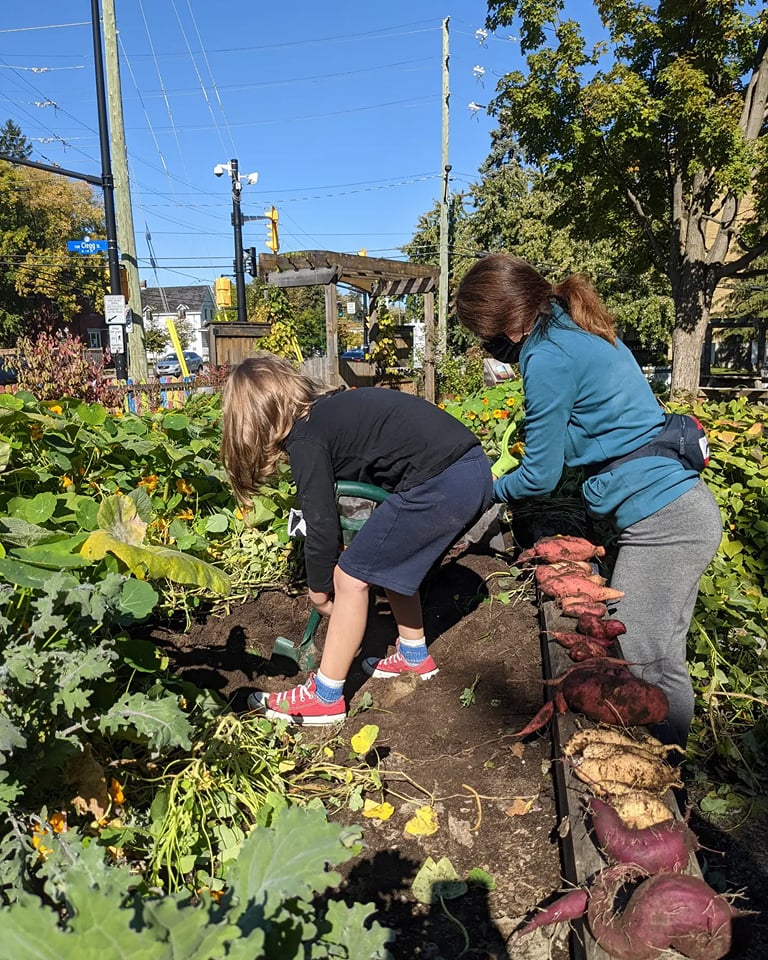
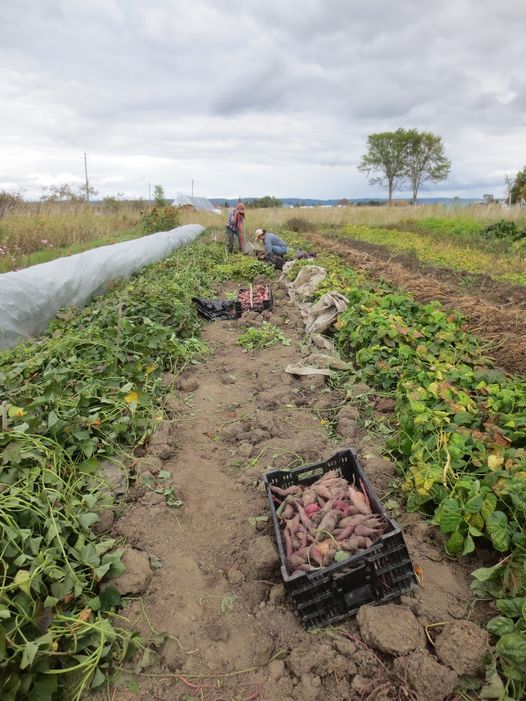
Step by Step: Harvest
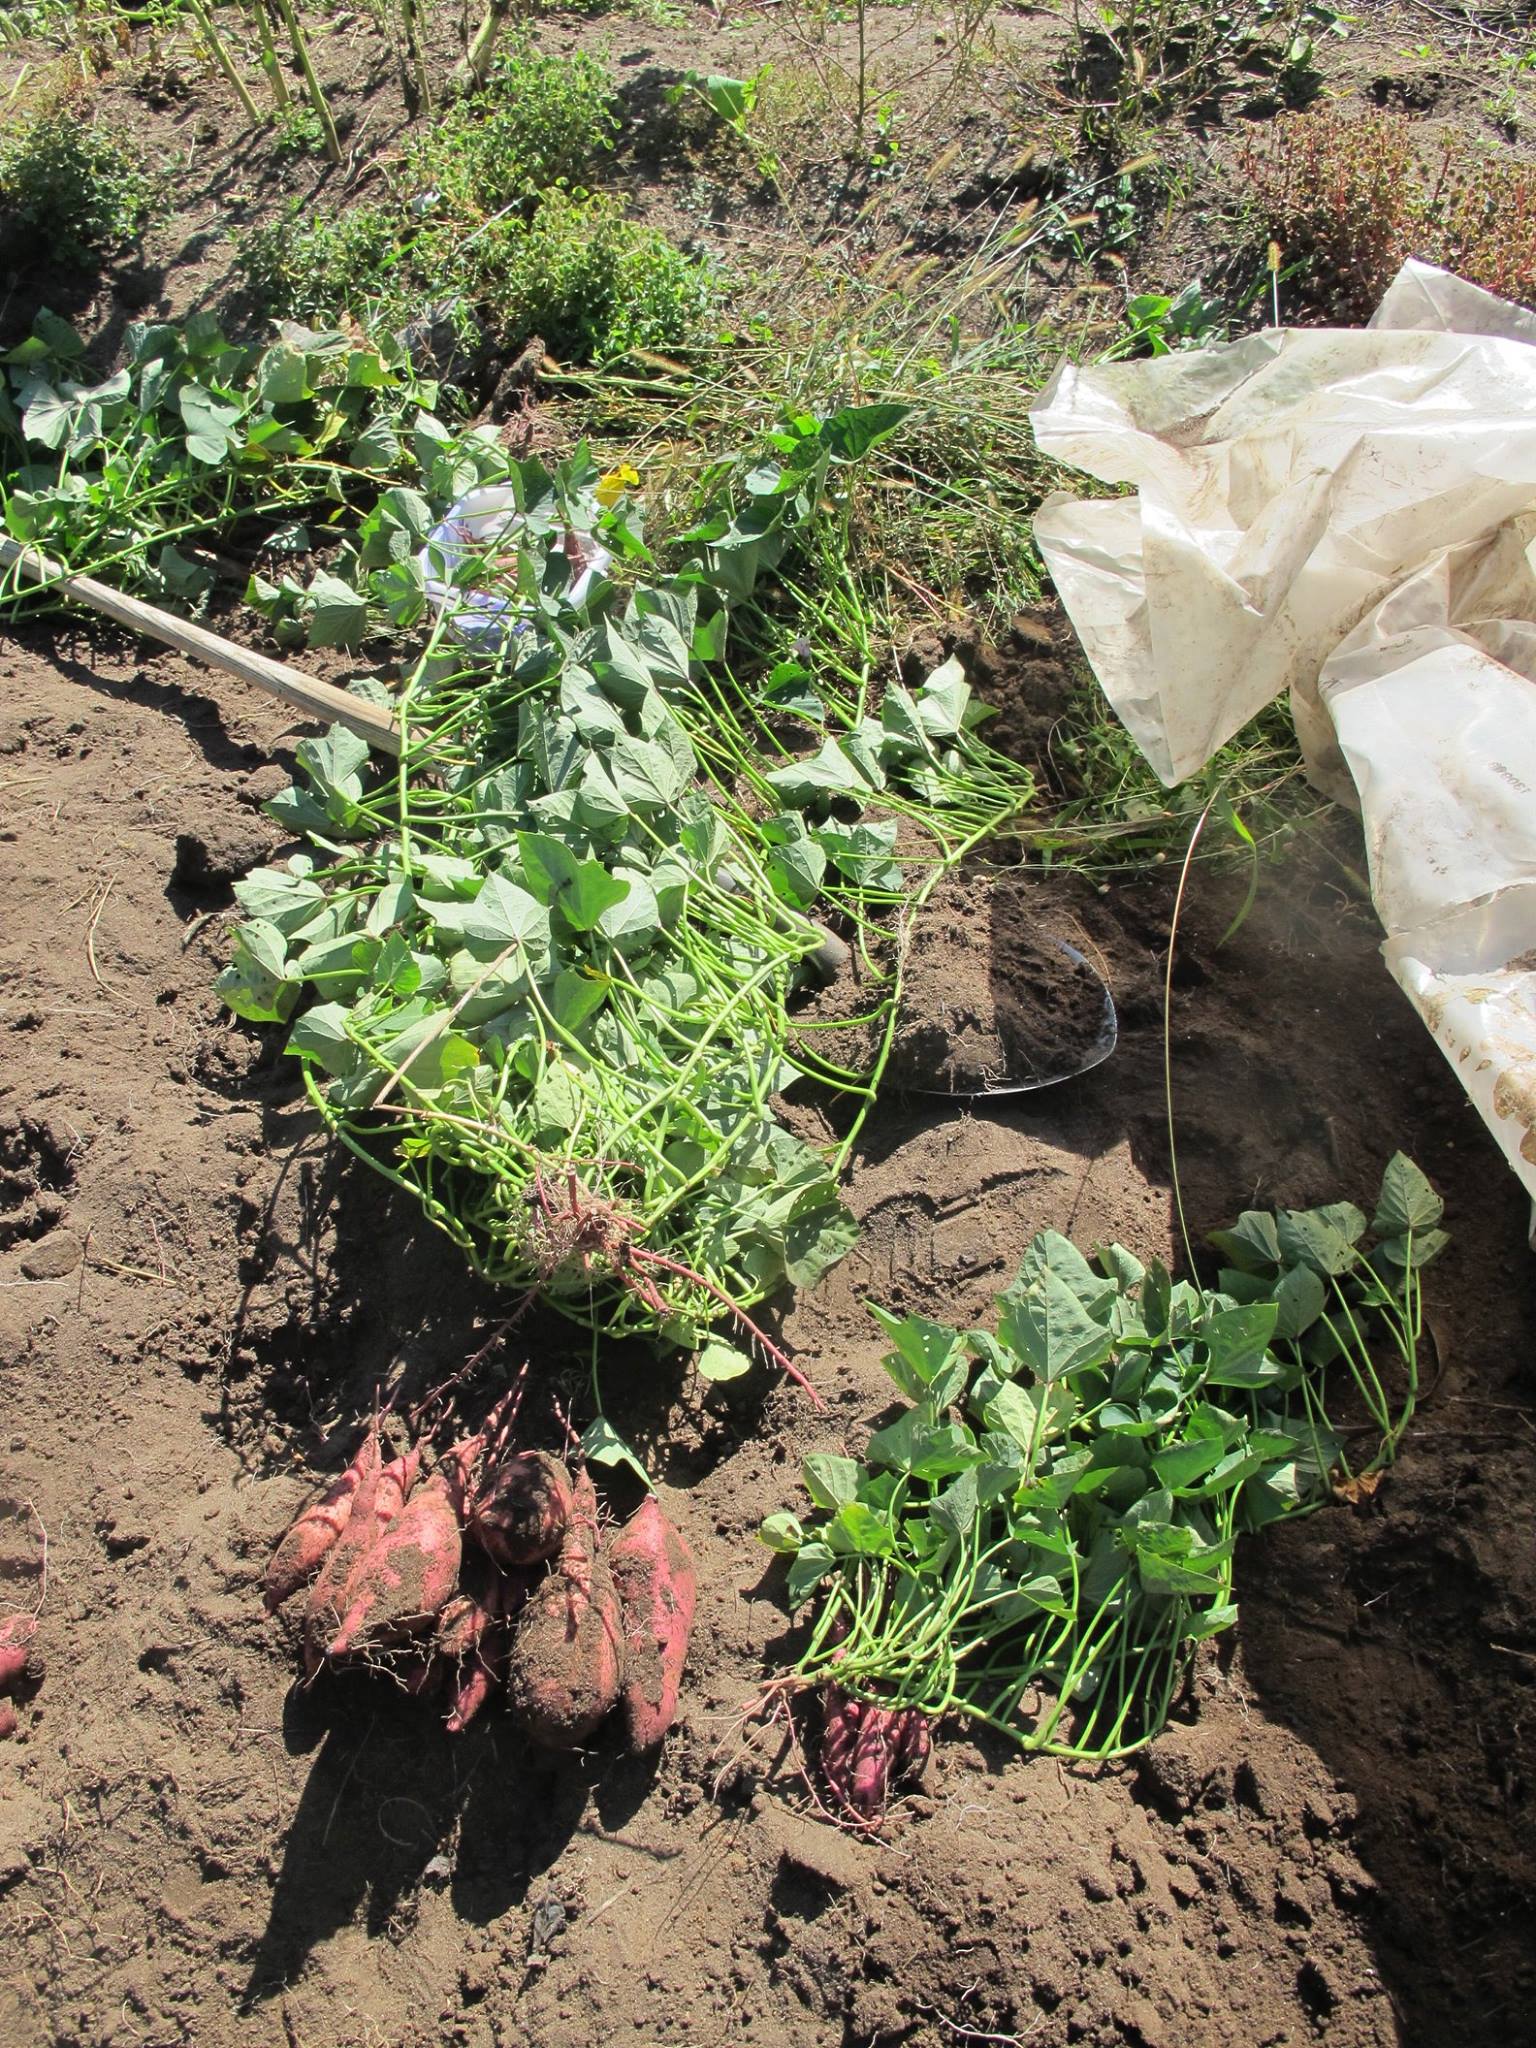
- Cut back the vines to about 4 inches. Kate suggests doing this a week before harvest as she says it makes the skins more durable. An interesting suggestion as this may encourage initial curing in ground.
- Lift plastic from one edge until you get to the first plant,
- Depending on your soil, you may be able to pull most of the tubers up with the plant but…
- Take your pitch fork or shovel and put it about 12 inches from the centre mound of sweets that’s under the crown. Lift those tubers.
- Most will be in a clump under the crown but there may also be stragglers on longer stolons so dig over the bed after you’ve removed the clumps.
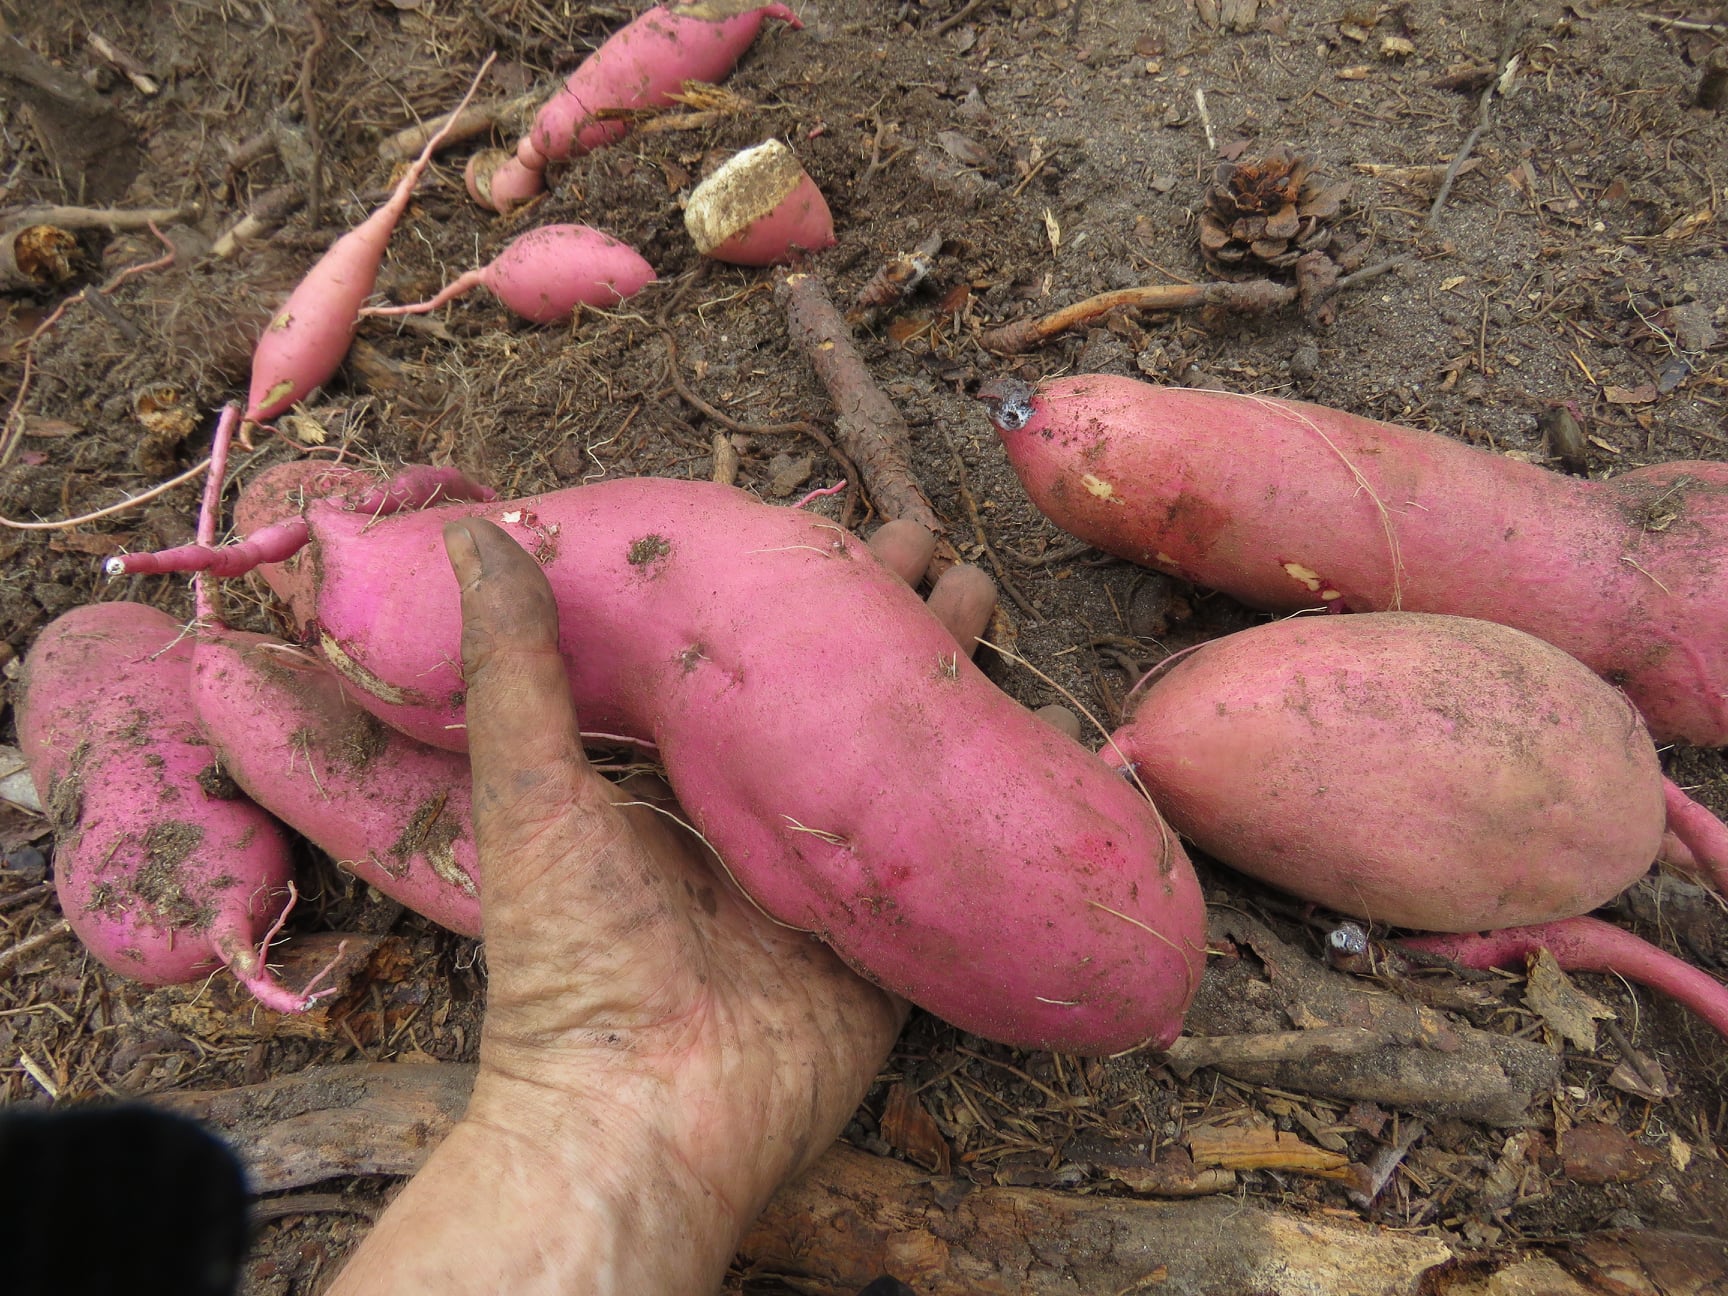
- Don’t throw around tubers. Treat like eggs. Carry carefully to your harvest basket/wheel barrow.
Step by Step: Curing
- Place tubers together in heavy duty paper bags like LCBO bags or similar.
- Put these paper bags in a small space like a bathroom
- Make sure there’s some humidity such as a full sink
- Use a space heater to keep the room very warm. Think butterfly house
- Check on them daily and keep them at high heat and humidity for about 5 days.
I used to just have the space heater on during the day in a small utility bathroom.
Or if you don’t have a space heater, small room or easy way to keep things hot and humid, you can place in a paper bag, put in a clear storage container with the lid open a bit so they don’t overheat and leave outside in the sun for a week or whenever the sun’s out. Do not leave outside when cold or at night. I’ve done this in the early days when I had a very small harvest. You’ll know they’re cured when any cuts are sealed over and the skin is harder.
Kate would like to remind people not to put sweet potatoes in plastic bags. This could encourage rot or premature sprouting.
Storage
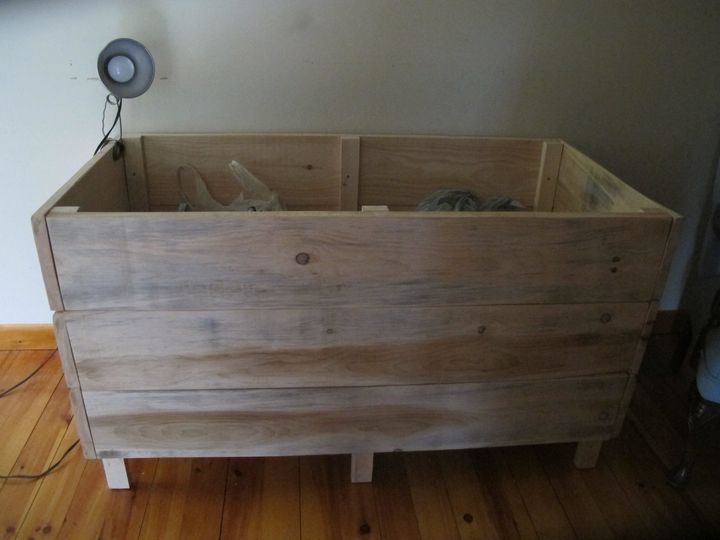
You can store at warm room temperature so not a cool basement but more like your kitchen. I used to keep mine in a large, wooden sweet potato chest near my woodstove.
They will store up to 2 years and taste better after a few months of storage.
Interview with Kate
“It’s great to talk with you again. It feels like ages because of COVID. So, you are offering slips to local gardeners this year?”
Kate, “Yes, we have a variety of locally adapted sweet potatoes and sell both tubers and slips from our farm and offer a pick-up at Gaia Organics for slips. Demand has been very high this year and we’re already sold out of slips for the season. In partnership with Manish, we hope to offer more slips next year.”
“How many row feet of sweet potatoes do you grow?”
Kate, “4×150 beds so 600 row feet.”
“That’s no small amount of sweet potatoes! Oh and congratulations on the new farm!”
Kate, “Thanks, it’s great to have a place of our own.”
“Tell me, why sweet potatoes?”
Kate, “Well it all started with the calorie crop project that I did with you. They grew really well and were a valuable crop to add to local food production in Ottawa. We’re really focused on providing our CSA customers with boxes year round. Sweet potatoes store really well so make a nice addition to spring boxes. They add important calories at a time of year when most of the fresh produce is greens.”
“I agree. They are one of my favourite crops for the Ottawa area and really versatile.”
Kate, “We cook them in everything. One dish we cook a lot is sweet potato tacos.”
“I’m intrigued.”
Kate, “It’s pretty simple: sweet potatoes, beans, onions and seasonings. Also sweet potato burgers with sweet potatoes, oats, quinoa. I’ll send you the recipe.”
“Thanks. The great thing about sweet potatoes or I should say one of the great things about sweet potatoes is that they are adaptable to both savoury and sweet dishes.”
Kate, “Yes, on our sweet potato day where we evaluated different, new varieties for sweetness, texture, and visual appeal, we had an all sweet potato meal including a sweet potato cake made with two kinds of sweet potatoes and even a sweet potato cocktail! The cake used the more starchy form of sweet potato in the icing and the sweeter one for the batter.”
“Good reminder of the different qualities of sweet potato. One of the reasons I really got into breeding sweet potatoes – that’s producing and growing from true seed – was that there were certain types that were harder to get here such as the more starchy purple and white fleshed kinds. You sell both sweet, moist and starcher kinds right?”
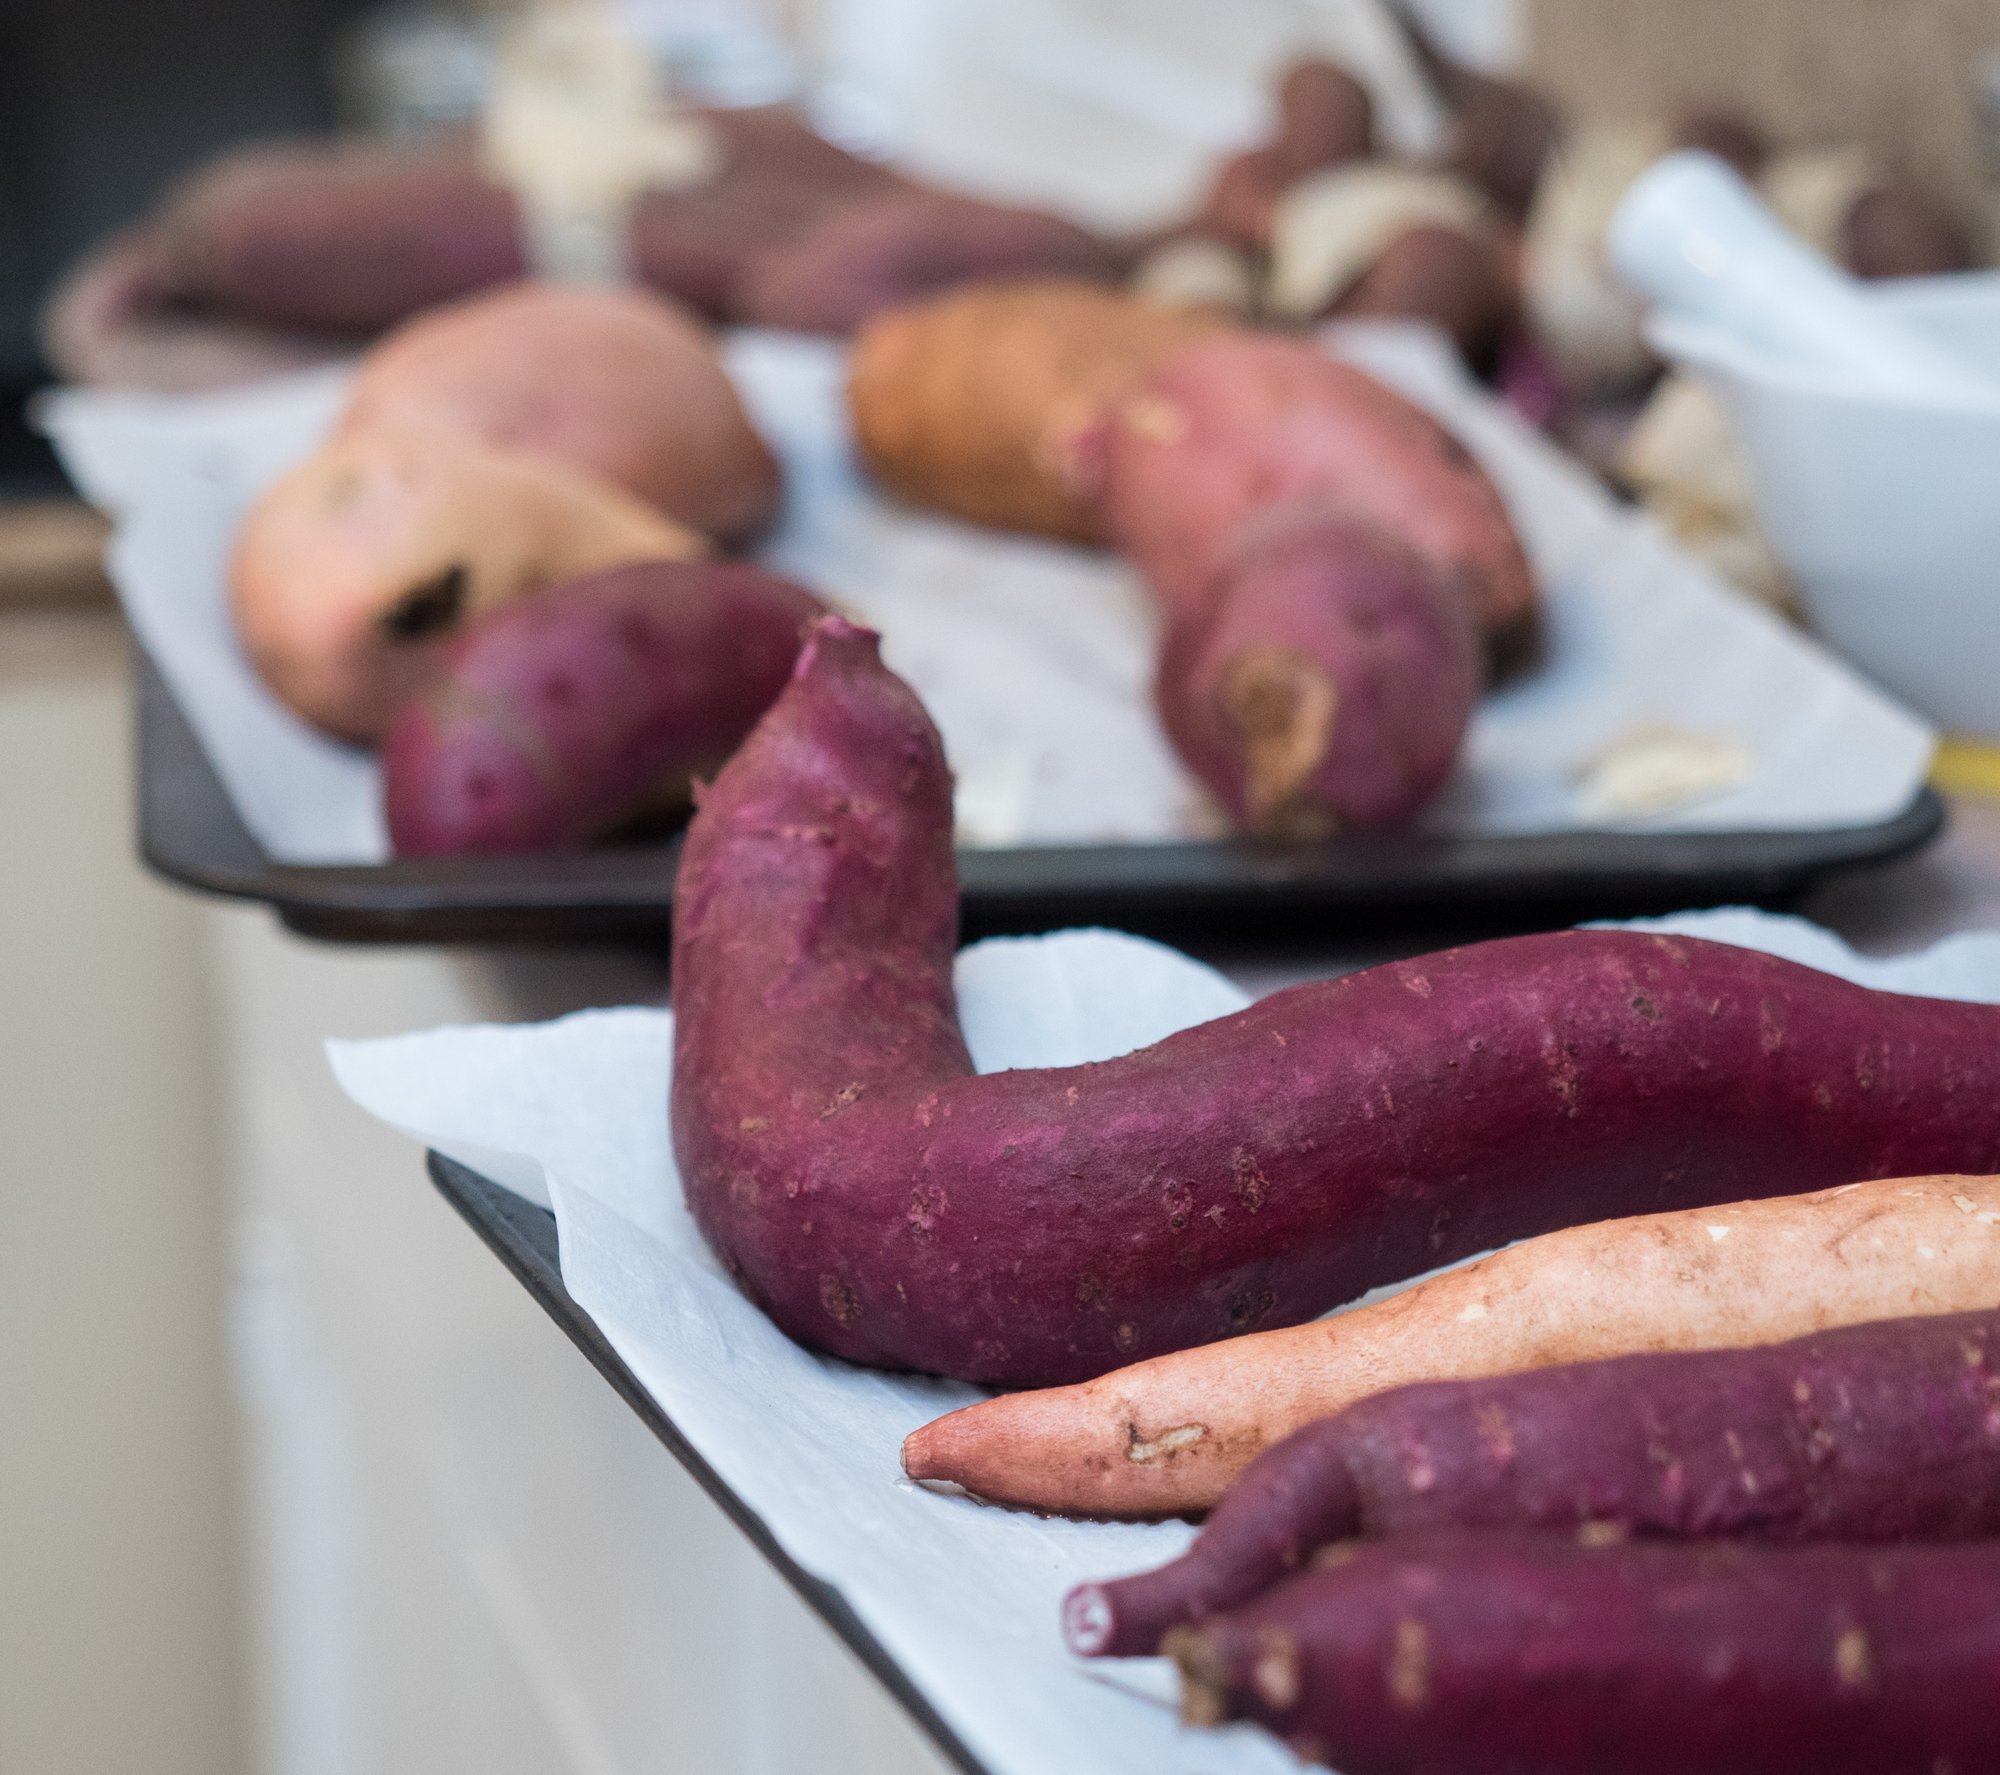
Kate, “Yes we have a wide assortment. Adds a lot of diversity even in one crop.”
“Tell me, do you have any growing tips for gardeners?”
Kate, “Probably the most important is that if you want a good crop, you have to warm the soil either using clear plastic or some other way. I’ve heard of people having luck with those black cloth grow bags.”
“Oh yeah, some of my old customers had luck with mulching with flagstone or putting in cement planters. I’ve used both clear and black solar stable plastic but the clear was best for me.”
Kate, “Curing is an important area too. You should cure right away and make sure you’re curing tubers are getting good ventilation so don’t put in sealed plastic bags. Paper bags work. I once also wrapped tubers in newspaper before putting them in yard waste bags and then a plastic bag.”
“When I store in plastic, I open frequently. I have been known to store very small cured tubers in a mostly sealed but not completely sealed plastic bag. I wouldn’t store my large tubers that way as they aren’t likely to dry out if properly cured.”
Kate, “Also while growing the plants, you should lift the vines off the ground so that they don’t root as these secondary spots can try to grow tubers and take away energy from the main clump.”
“Interesting, I never did this unless the vine was growing in the wrong direction. Something to explore. Well thank you so much for sharing your sweet potato growing experiences with us Kate. I look forward to hearing more updates from your projects.”
“No problem. Thanks for asking.”